How to Live Stream Games Using Muvi Live and OBS Studio
Product: Muvi LiveSetting Up Your Muvi Live Account
Adding a Live Stream in the Muvi Live CMS
How to Get the Stream URL and Stream Key in the Live CMS
Configuring the OBS Studio for Game Live Streaming
How to Start Game Live Streaming in the Live CMS
How to Start Game Live Streaming in the OBS Studio
How to Preview and Share the Game Live Streaming
How to End the Game Live Streaming
How to Add Custom Overlays in the OBS Studio
Additional Tips to Enhance Game Live Streaming
Introduction
Live streaming has become an integral part of the gaming community, allowing you to connect with fellow enthusiasts and build a loyal following. With Muvi Live and the versatile OBS Studio, you can effortlessly broadcast your gameplay and engage with your audience in real time.
This formal instructional guide will walk you through the seamless process of setting up your live stream. Muvi Live and OBS Studio are powerful, industry-leading tools that offer a user-friendly interface and advanced features to ensure a professional-grade broadcast.
Whether you're a seasoned streamer or new to the game, our step-by-step instructions will enable you to quickly and efficiently configure your live stream, showcase your skills, interact with your viewers, and take your gaming experience to new heights.
| Note: You can also use other streaming encoders like vMix, Switcher Studio, Wirecast, and Streamlabs for the game live streaming. In this guide, we explained how to use the OBS Studio to live-stream games. |
Setting Up Your Muvi Live Account
To live-stream games, you must create an account in Muvi Live. You can create a Free Trial account. However, the free trial has limited bandwidth and streaming hours (15 minutes of streaming and 1 GB of Bandwidth). So, we recommend purchasing a Muvi Live subscription before you live-stream games.
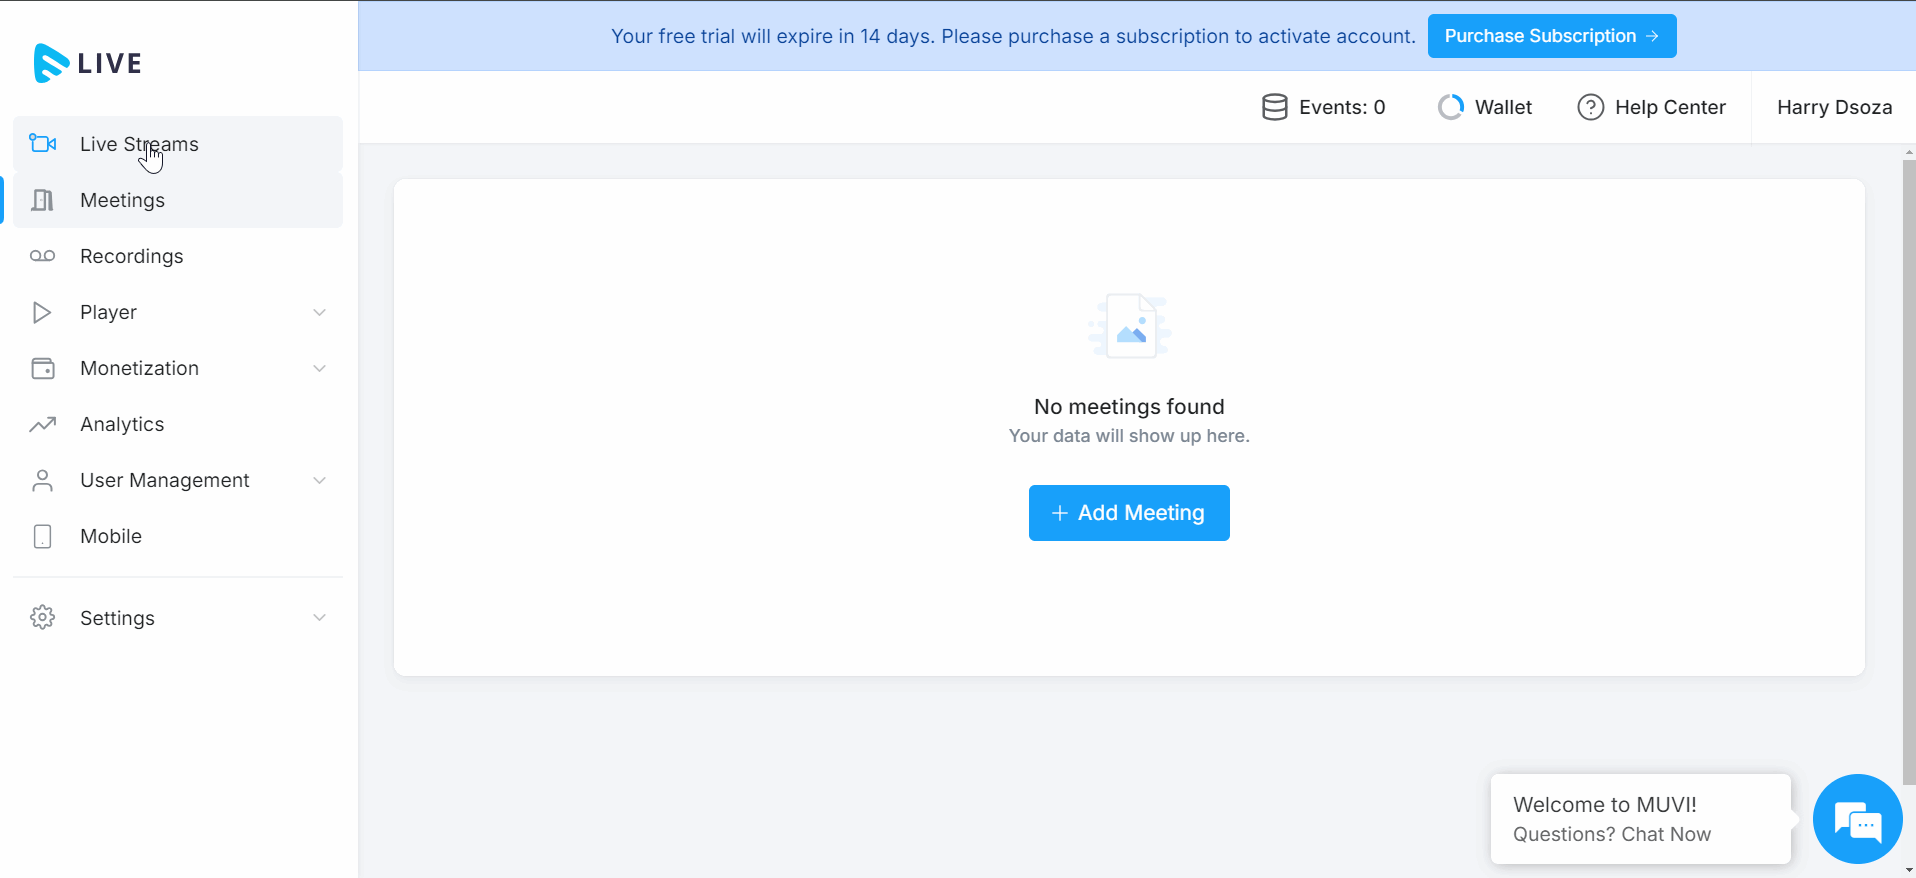
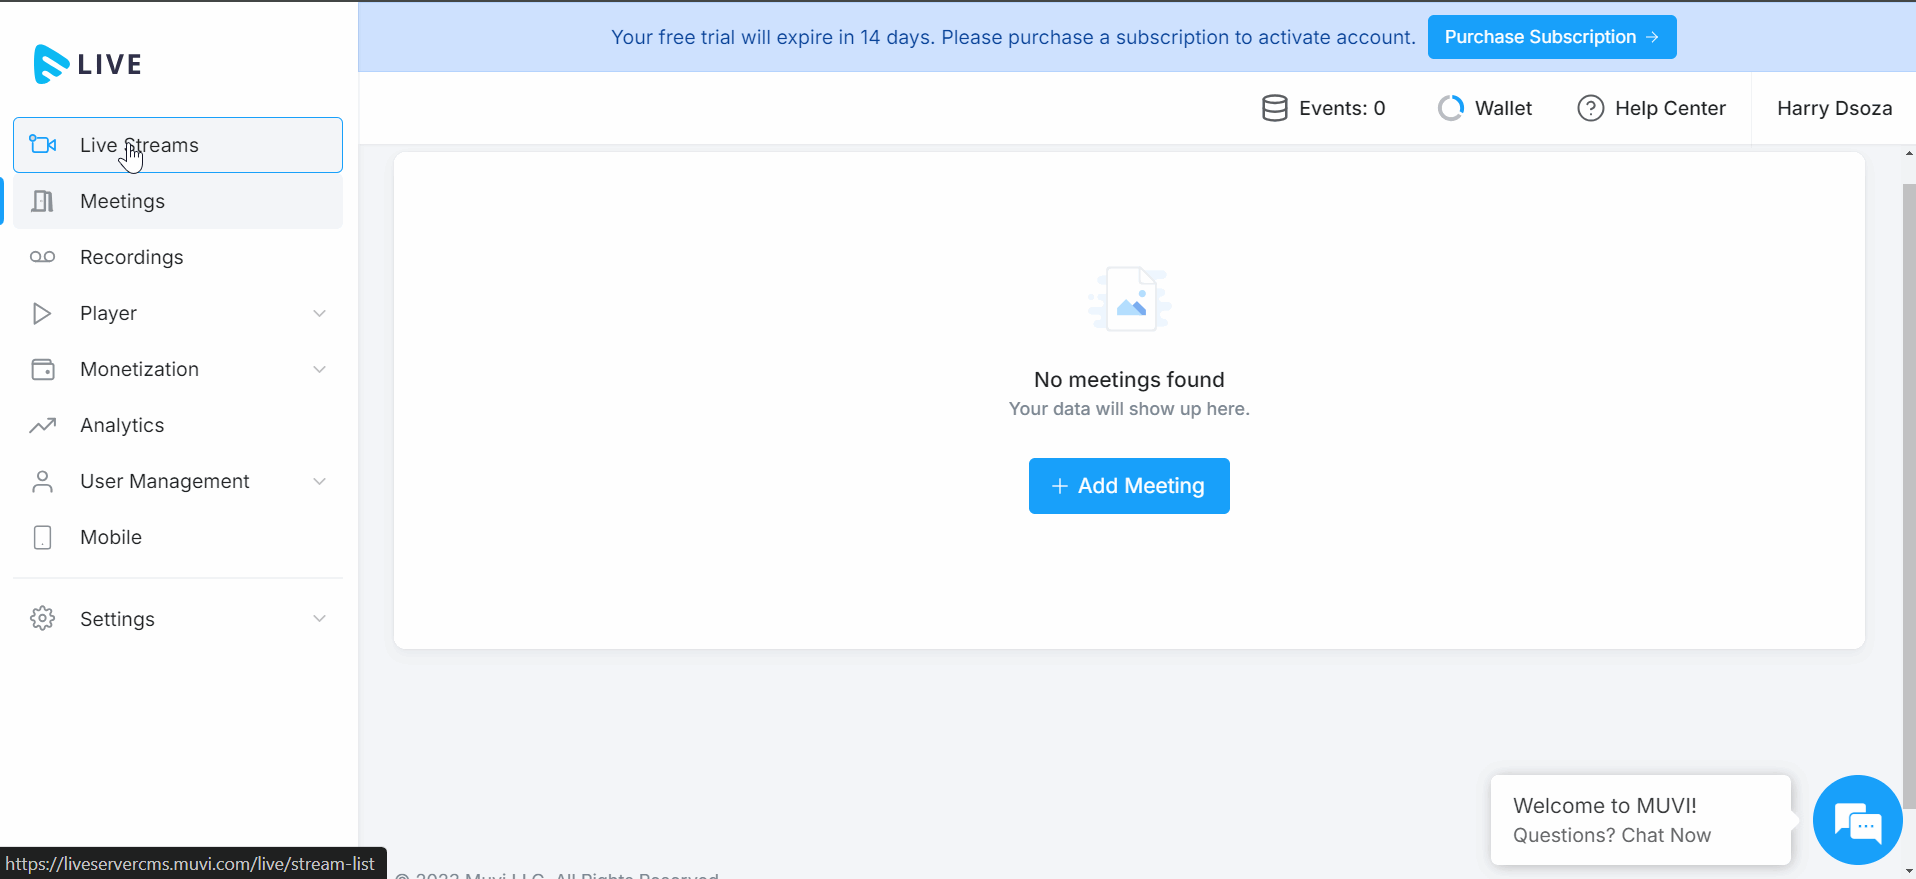
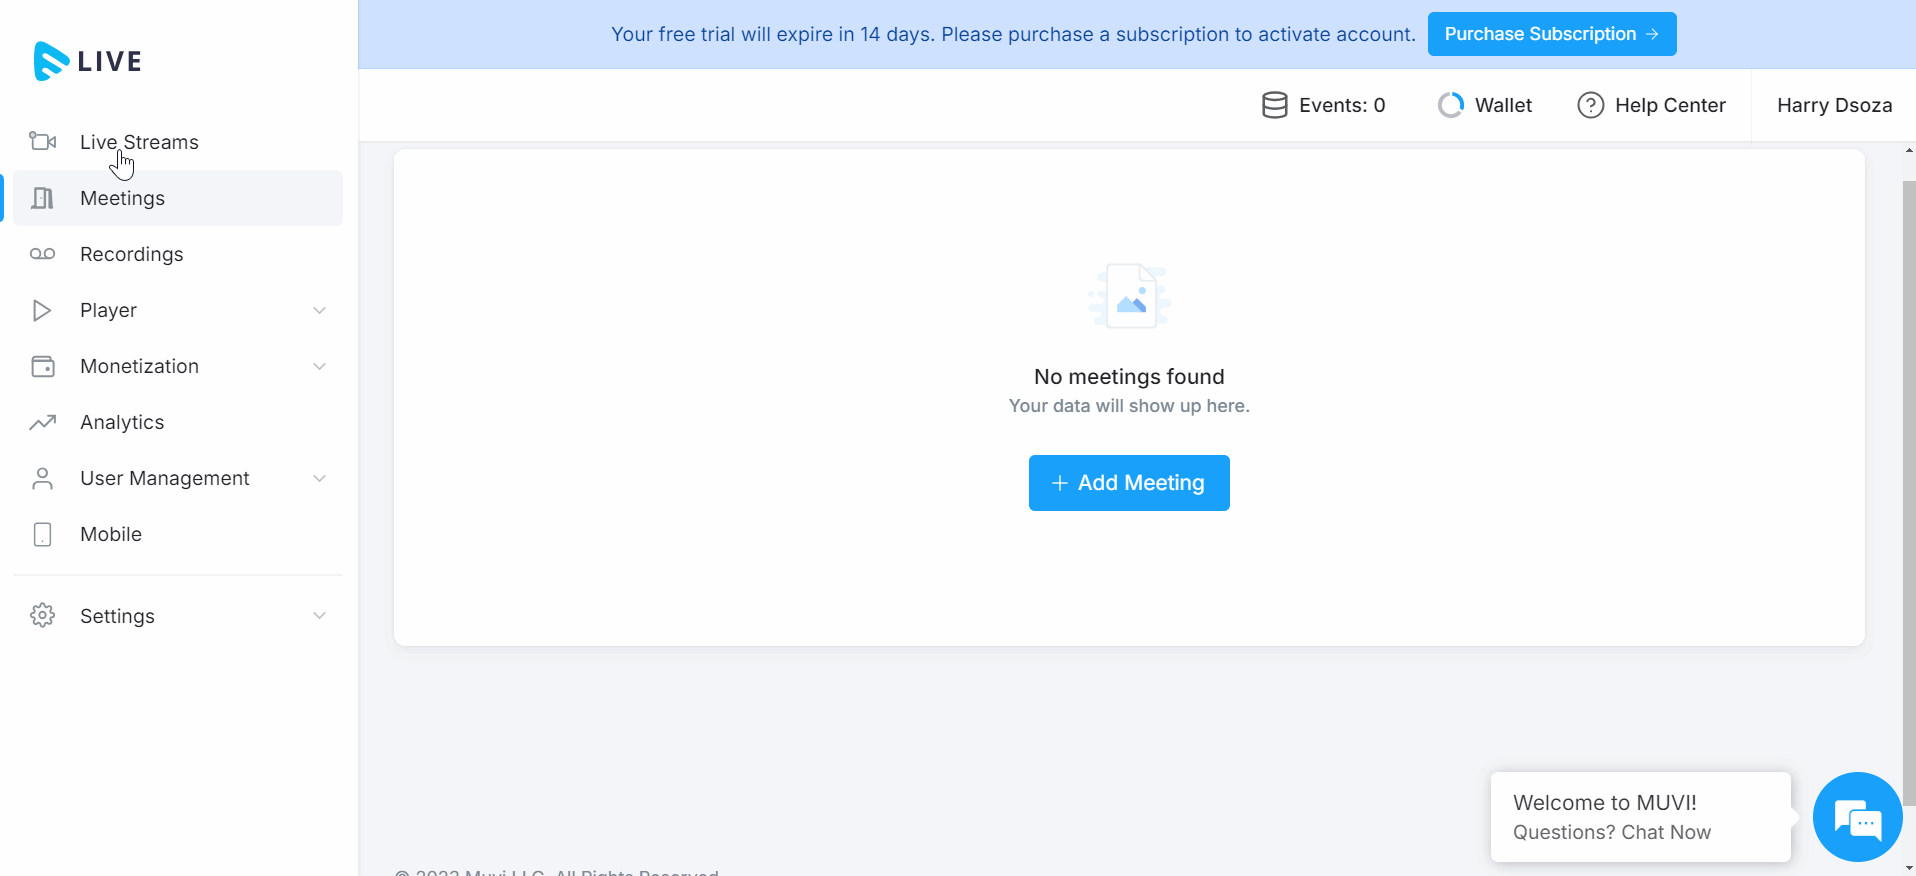
Adding a Live Stream in the Muvi Live CMS
- To add a game live stream, click on “Live Streams” in the Muvi Live CMS.
- Under Live Stream Library, click on “Add Live Stream”.
- Type the “Stream Name” (mandatory). E.g., Car Racing Game, Pool Game, PUBG Live Streaming, etc.
- Type “Description” about the game live stream (e.g., Watch PUBG live stream)
- In the "Source" field select "Connect Encoder" to live stream using a streaming encoder(i.e., OBS)
- Select "Paywall" if you want to monetize your game live streaming. Click here to learn more about Paywall.
- Select "Advertisements", if you want to insert ads in your game live stream. Click here to learn how to integrate advertisement to live stream.
- Select the *"Record" option if you want to record the live stream. The game's live streaming will be recorded and will be available in "Recordings" once you stop the live stream.
- Select *"Enable DRM" if you want to protect your game live streaming from piracy. Once DRM is enabled, no one can extract and use your live streaming URL and share it with others unauthorizedly.
- Select "Password Protection", if you want to protect your game live stream with a password. It only works for the "Shareable Links". To learn about the password protection feature, click here.
- Select "Nearest Location" from the drop-down. You can select your nearest server location to quickly connect with the live stream server and reduce the latency of live streaming.
- Click on “Save”. The game live stream will be created.
- Repeat the process to create multiple game live streams for different events.
- After adding the live stream, if you wish, you can edit it by clicking on "Edit".
- You can also delete the live stream by clicking on "Remove".
How to Get the Stream URL and Stream Key in the Live CMS
After creating the live stream in Muvi Live, you'll be provided with a Stream Key and a Server URL. These will be used in OBS to connect your game live stream to Muvi Live.
- To get the “Stream Key” and “Stream URL”, click on “Live Streams” in the Muvi Live CMS.
- On the right-hand side of a live stream, click on the 3 dots.
- Click on “Stream Info”.
- You can view the “Stream URL” and the “Stream Key”. You need to copy the Stream URL and Stream Key and add them in OBS Studio.
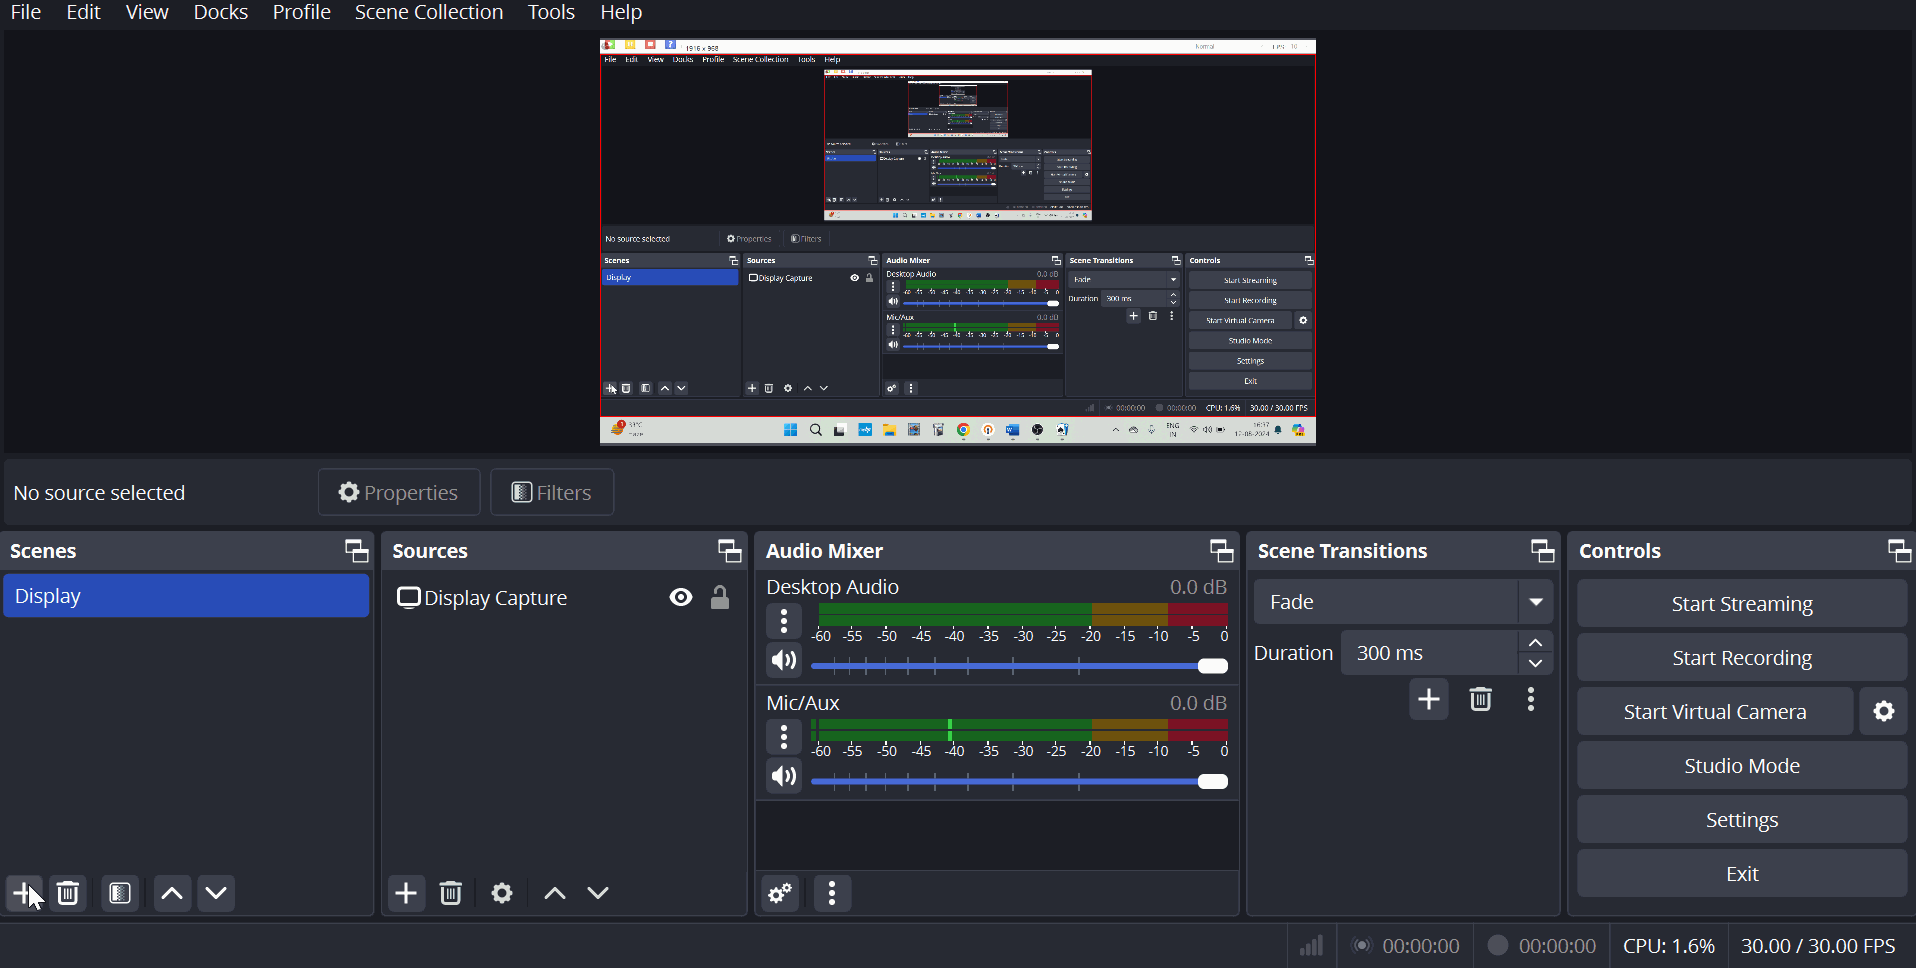
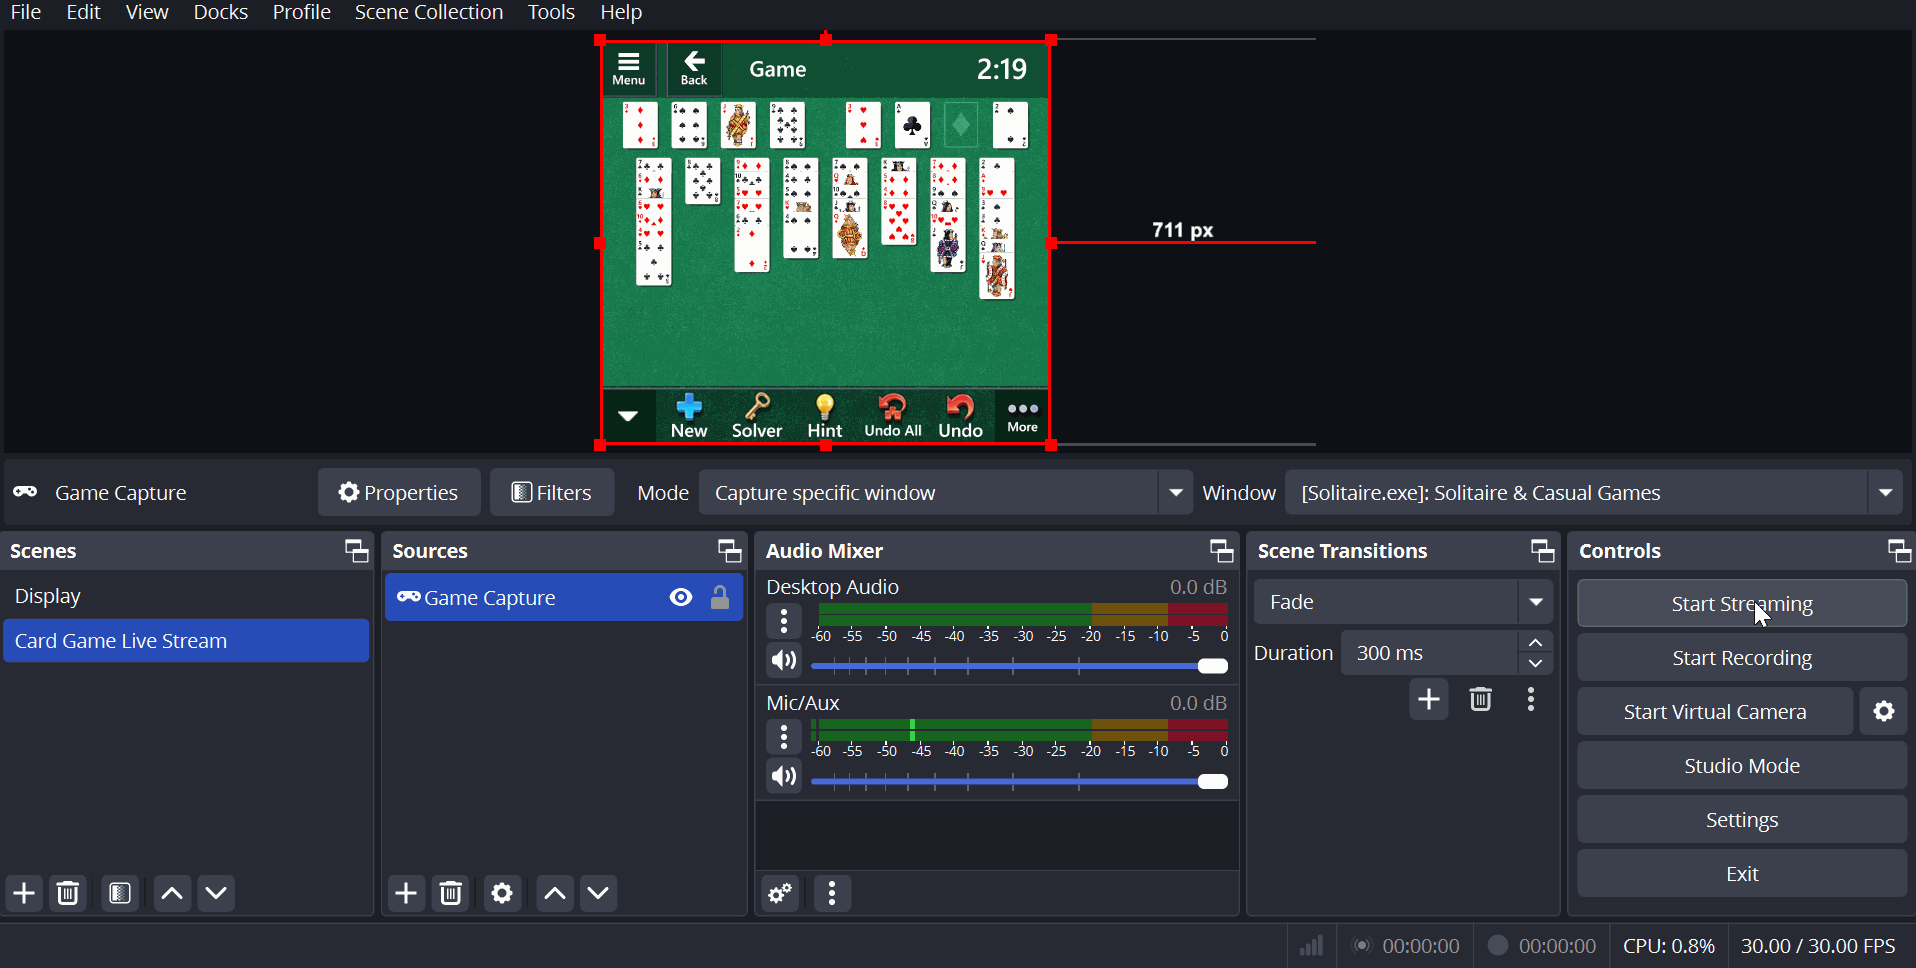
Configuring the OBS Studio for the Game Live Streaming
You must download and install OBS. Once OBS is installed, you need to configure it for the game's live streaming.
- Open OBS Studio.
- Click on the “+” icon under “Scenes” to add a scene.
- You can add a scene name (e.g., Game Live Stream).
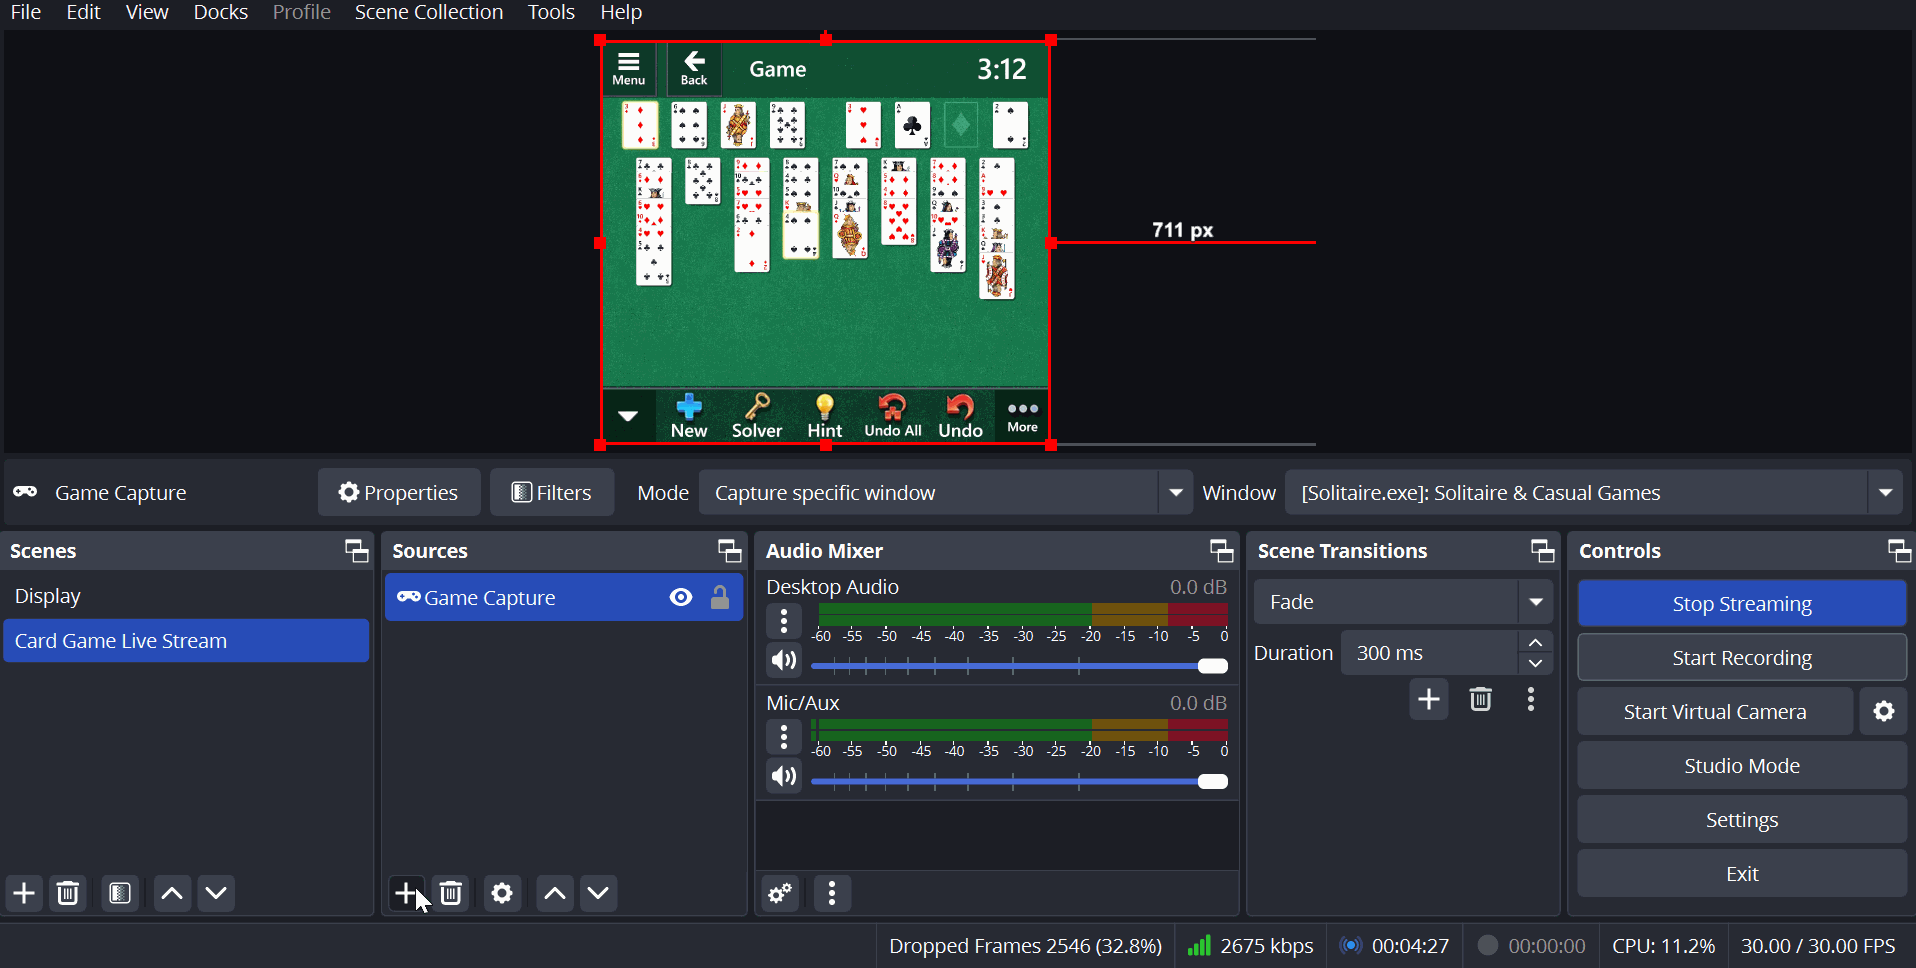
- Click on the “+” icon under *“Sources” to add a source. Select “Game Capture” from the list.
- Select “Create New”.
- Type a name for the Source (e.g., Game Capture).
- Click on “OK”.
- In the “Mode”, select an option. For example, “Capture Specific Window”.
- In the “Window” field, select the game window.
- Select the additional options if required (not mandatory).
- Click on “OK”.
- You can see the game window in the OBS Studio.
- Navigate to “File” -->” Settings” -->” Stream”.
- From the drop-down select “Custom”.
- Type the “Server” and “Stream Key” (which you have obtained from Muvi Live)
- Click on “OK”.
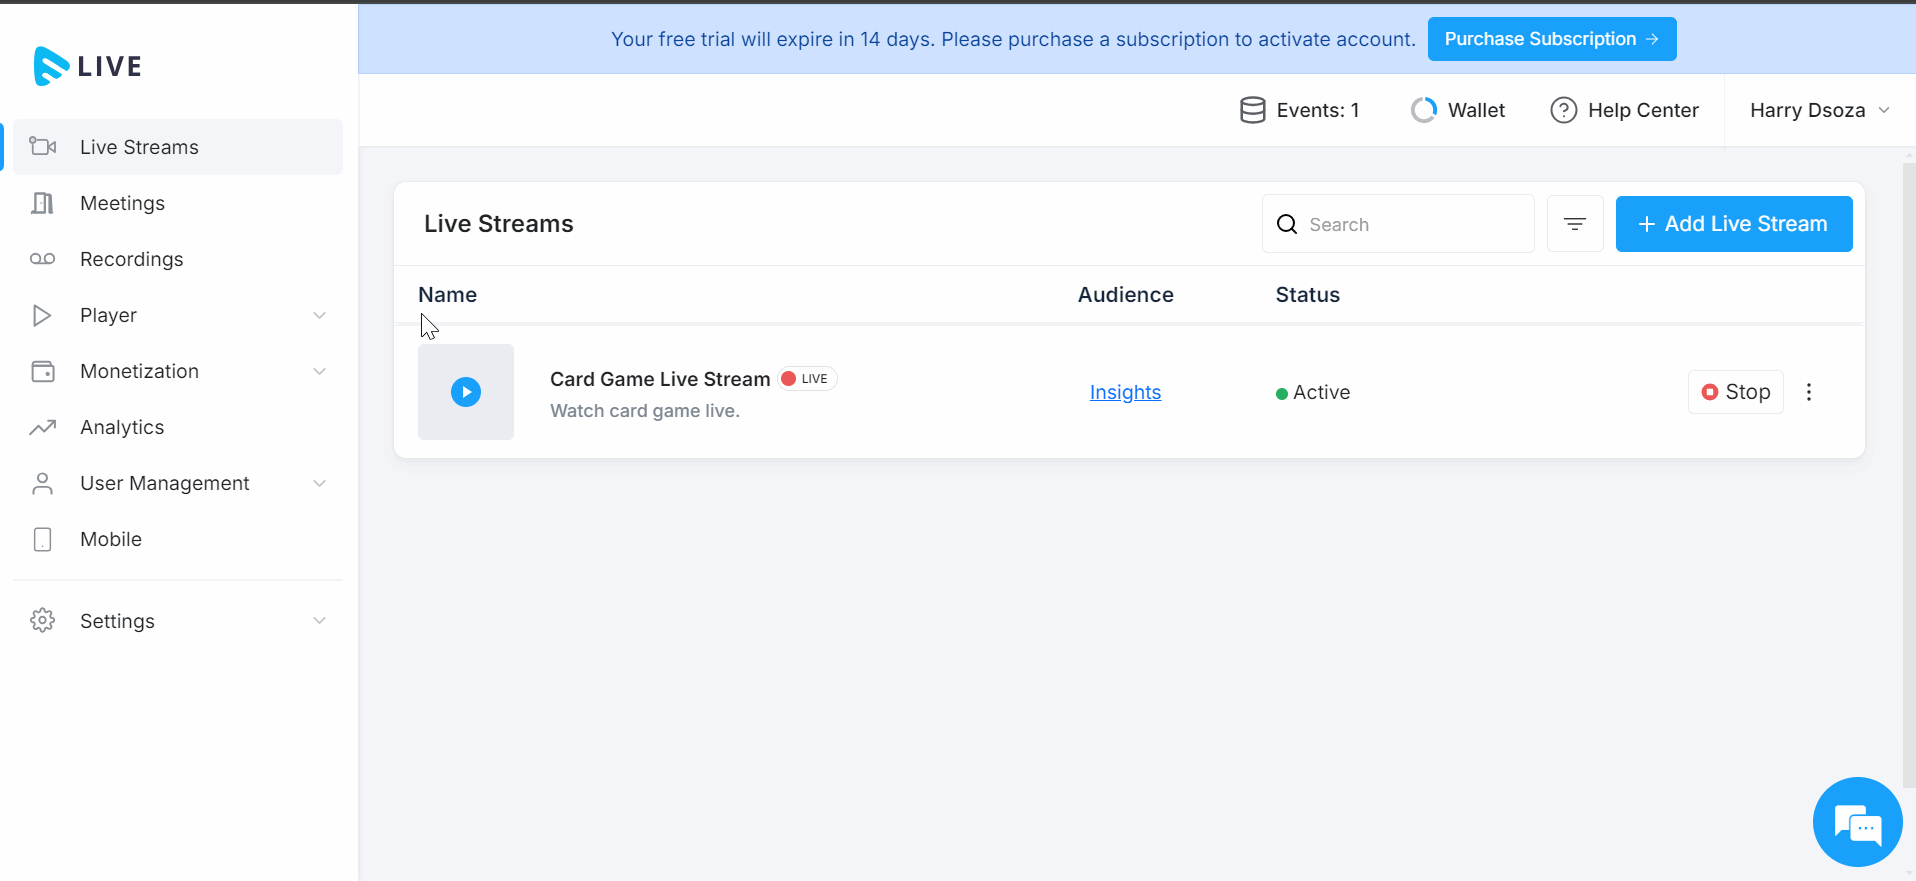
How to Start Game Live Stream in the Live CMS
- To start the live stream, click on “Live Streams” in the Muvi Live CMS.
- On the right-hand side of the live stream, click on "Start”.
- You will be asked to add bandwidth and streaming hours if you don’t have enough.
- You can see the popup that the live stream will be started in a couple of minutes.
- Once the live stream is started, you can see the “Status” will be changed to “Active” and you can see the live indicator.
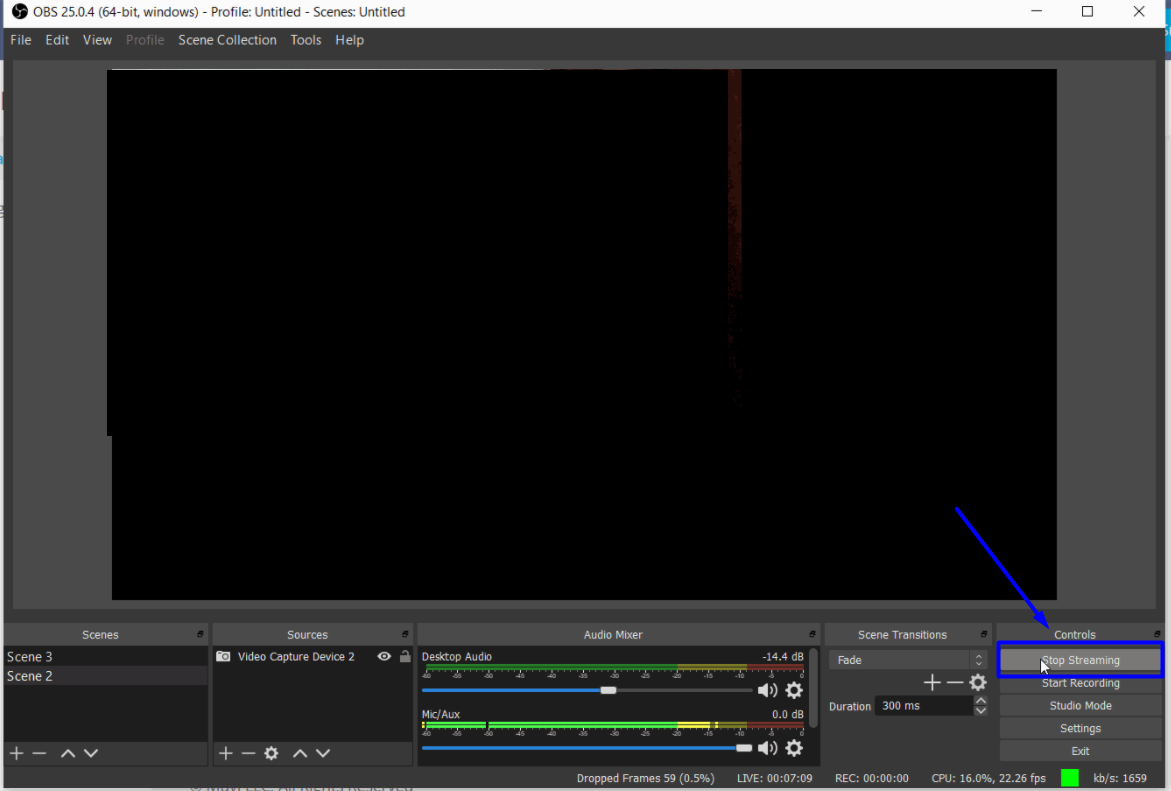
How to Start Game Live Streaming in the OBS Studio
- To start the live stream in the OBS Studio, click on “Start Streaming” on the right-hand side.
- The live streaming will be started in the OBS Studio.
Preview and Sharing the Game Live Streaming
- To preview and share the game live streaming, click on “Live Streams” in the Muvi Live CMS.
- Click on the “Preview” button on the live stream. You can see the preview of the live stream.
- To share the live stream, click on the 3 dots on the right-hand side of the live stream.
- Click on “Share” to get the sharable link of the live stream.
- You can share it with the end-users and allow them to view your game live stream.
- You can also use the HLS URL and/or Embed Code of the live stream to share it with the end-users.
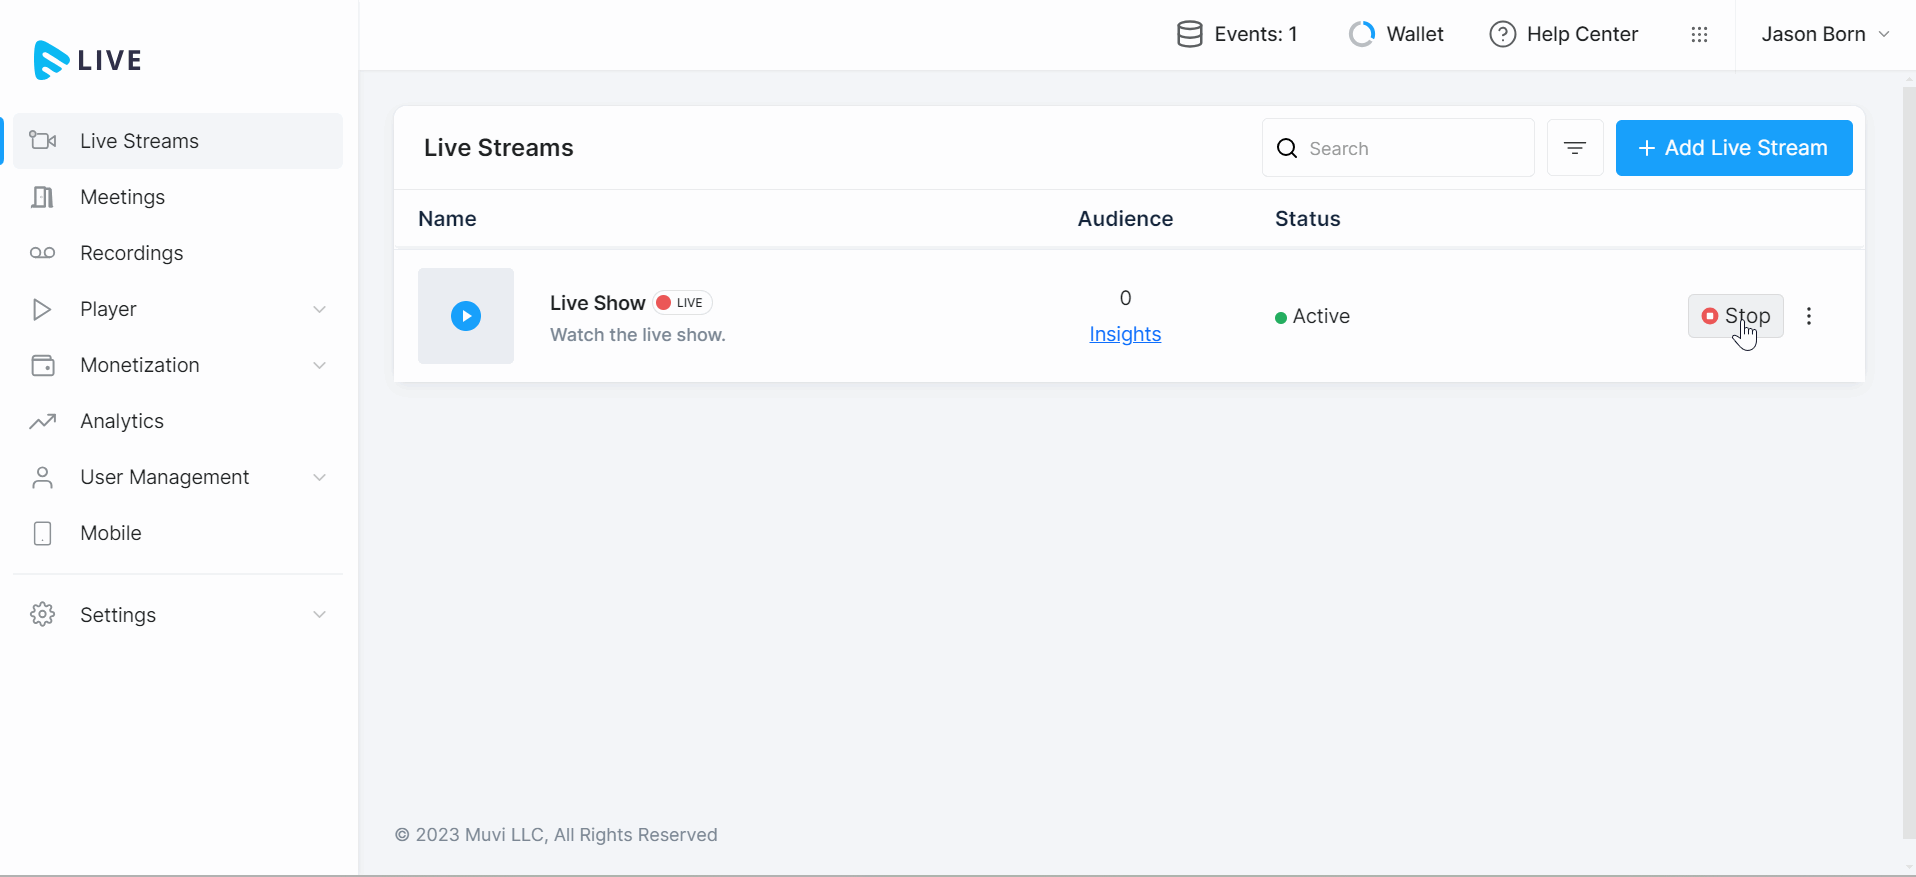
How to End the Game Live Streaming
You can end the live streaming either from Muvi Live CMS or OBS Studio.
- To stop live streaming from Muvi Live CMS, click “Stop”, on the right-hand side of the live event.
- When asked for confirmation, click on “Proceed”. The live stream will be stopped.
- Under, "Status" you can see "Inactive".
- To stop the live stream from the OBS, click on “Stop Streaming” in the bottom right corner of OBS.
How to Add Custom Overlays in the OBS Studio
You can add custom overlays in the OBS Studio. You can add image and/or video overlays. Even you can add overlays to show the Gamer who is playing the game. The gamer can also run live commentary on the game.
- To add a video overlay, click on the “Add Source” button (the “+” icon).
- From the sources, select “Video Capture Device”.
- Click on “Ok”.
- Select the camera of your laptop/desktop or any camera connected to the laptop/desktop.
- Click on “Ok”. The video source will be added as an overlay.
- Use drag and drop to adjust the overlay on the game screen.
- The overlay will be added to the live stream.
Additional Tips to Enhance Game Live Streaming
- Test Before Going Live: Always test your setup before going live to ensure everything is working as expected.
- Optimize Your Internet Connection: A stable, high-speed internet connection is crucial for smooth streaming. Use a wired connection if possible.
- Engage with Your Audience: Use Muvi Live’s chat and engagement tools to interact with your viewers in real time.