How to Customize Opal Template Using the Widgets
Product: Muvi One (Classic)How to Customize the Homepage Layout
How to Customize Register & Login page
Customizing Category Listing Page
Customizing Content Details Page
Introduction
Opal template is created by using multiple widgets. Once the template is activated, all the default widgets used in the template will be automatically loaded in the widget section in the CMS. You can easily edit each widget used in the template by using the Widget Editor in the CMS. Also, you can add a new widget to the template using the Widget Editor. In this article, we have described how you can easily modify different widgets that are used in the Opal template in different sections (i.e., Homepage, Registration Page, Log in Page, Footer, etc.) and change the template design.
How to Customize the Homepage Layout
(Before Login)
We have two separate designs for both the before login and after login of the home page. Following are the widgets for before login home page and how you can edit them.
| Note: All the widget changes are done in views/site/index.html in the Template Editor. |
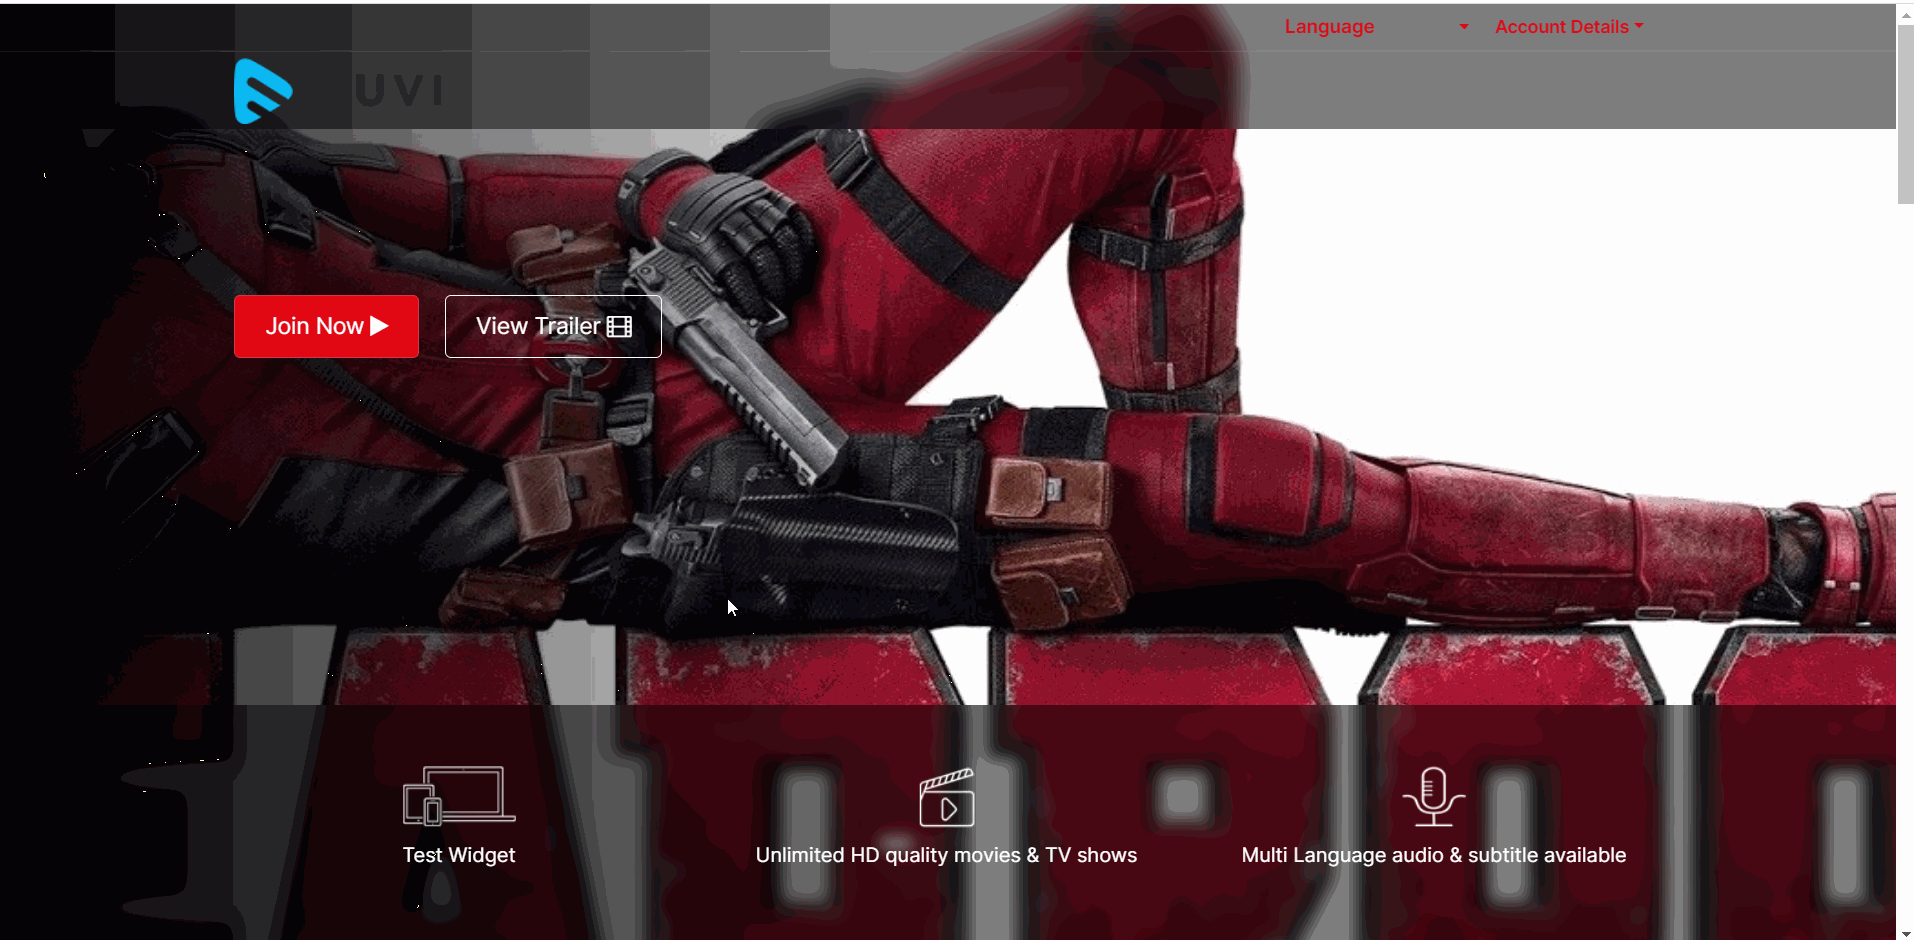
1. First widget item: Widget code in the CMS – “available_on_your_favourite_devices”
You can change the texts in the widget in the widget editor in the CMS. After editing the widget, refresh the homepage. You will see the changes.
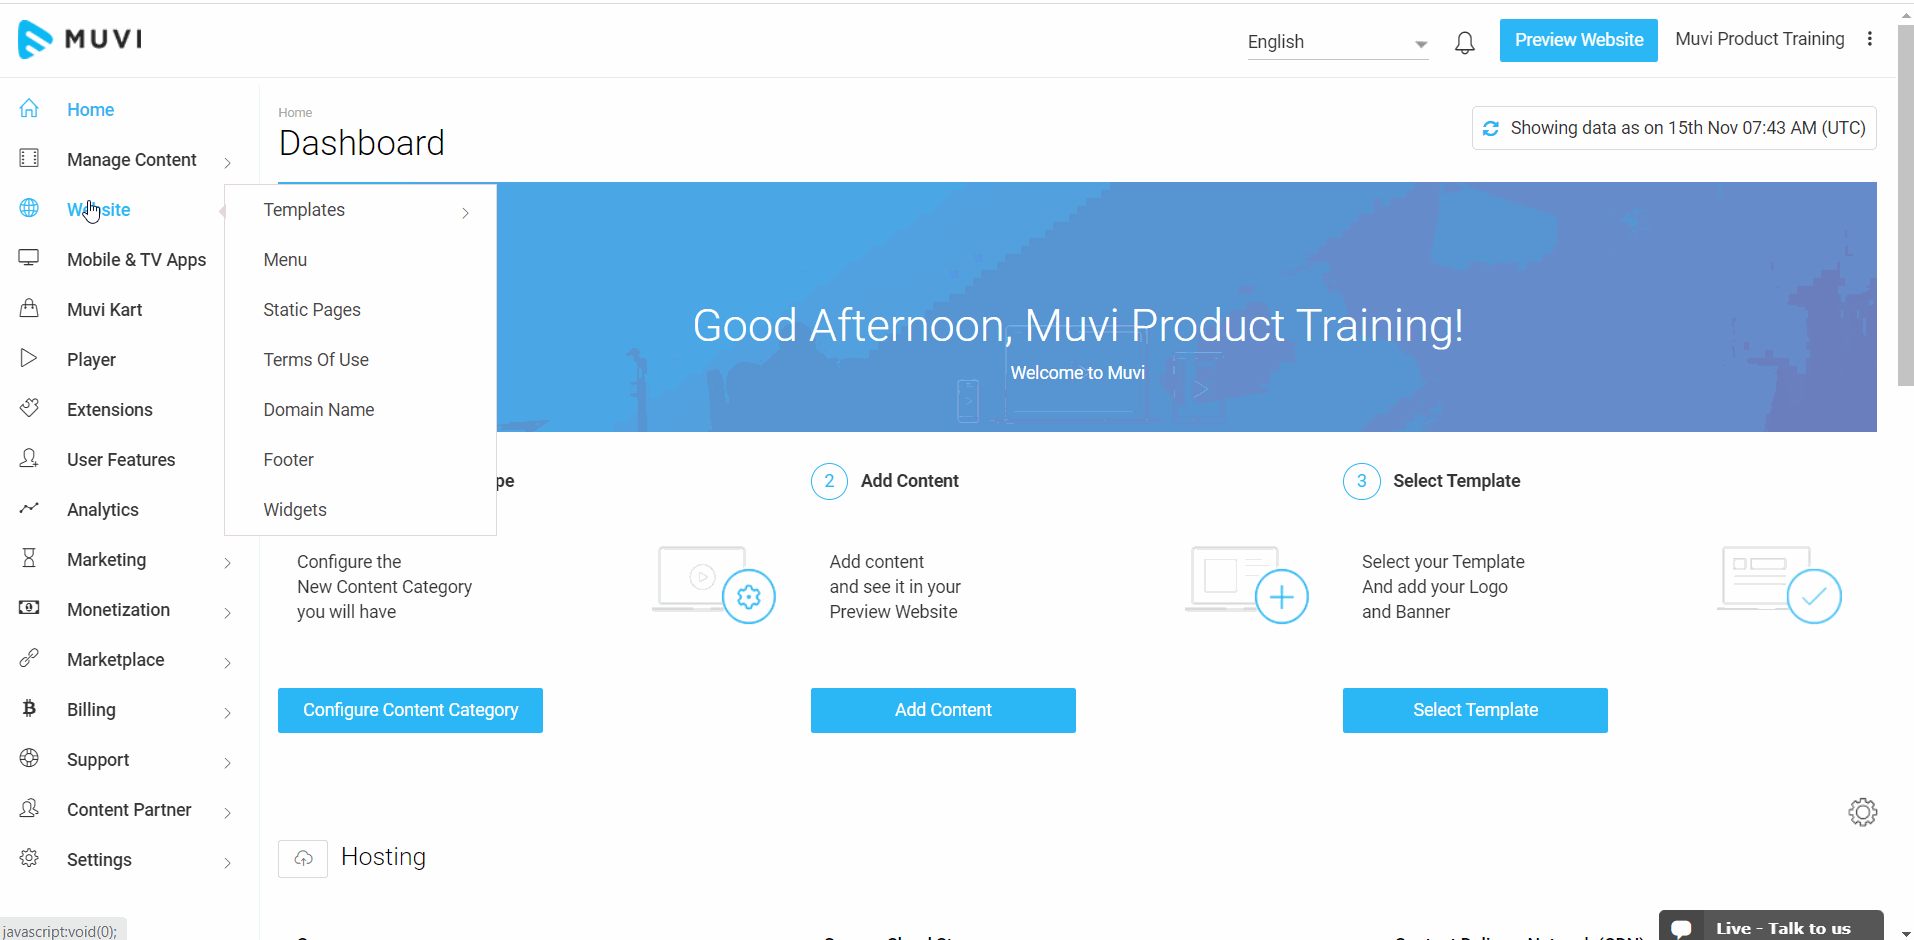
- To edit this widget, navigate to “Website” -->” Widgets” in the CMS.
- Click on “Edit” to edit the widget and then click on “Save and Continue”.
- Refresh your homepage to view the changes.
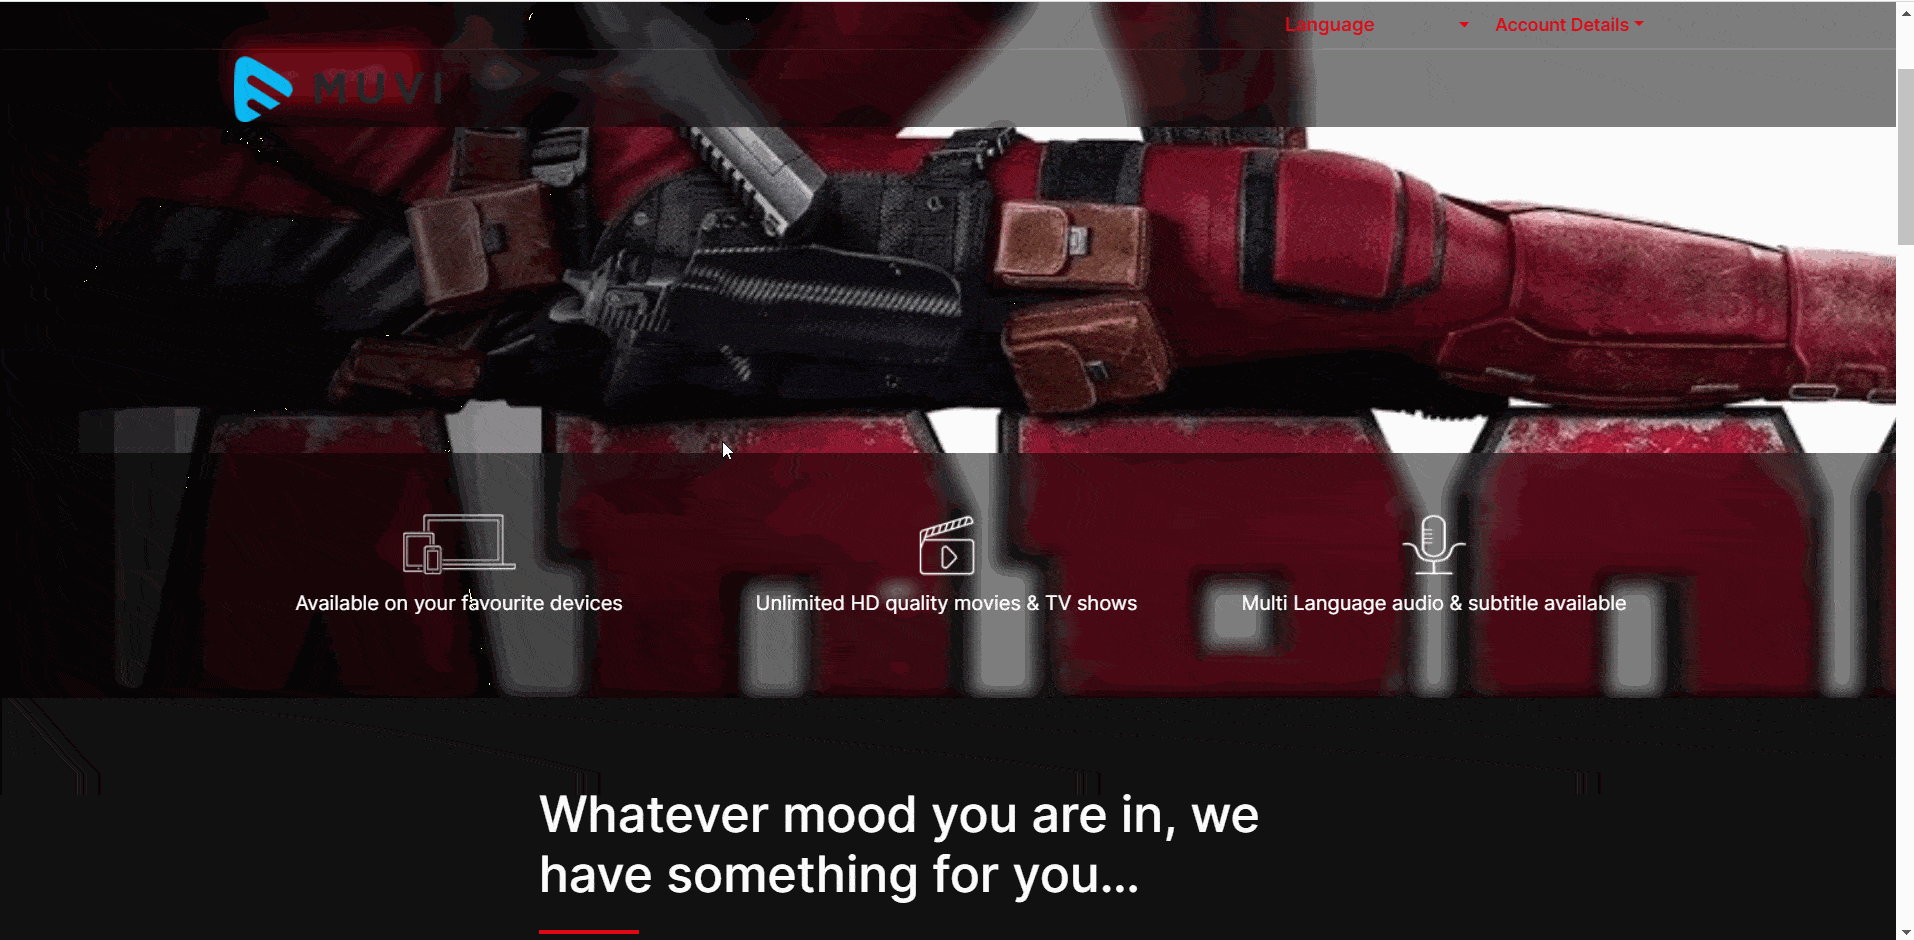
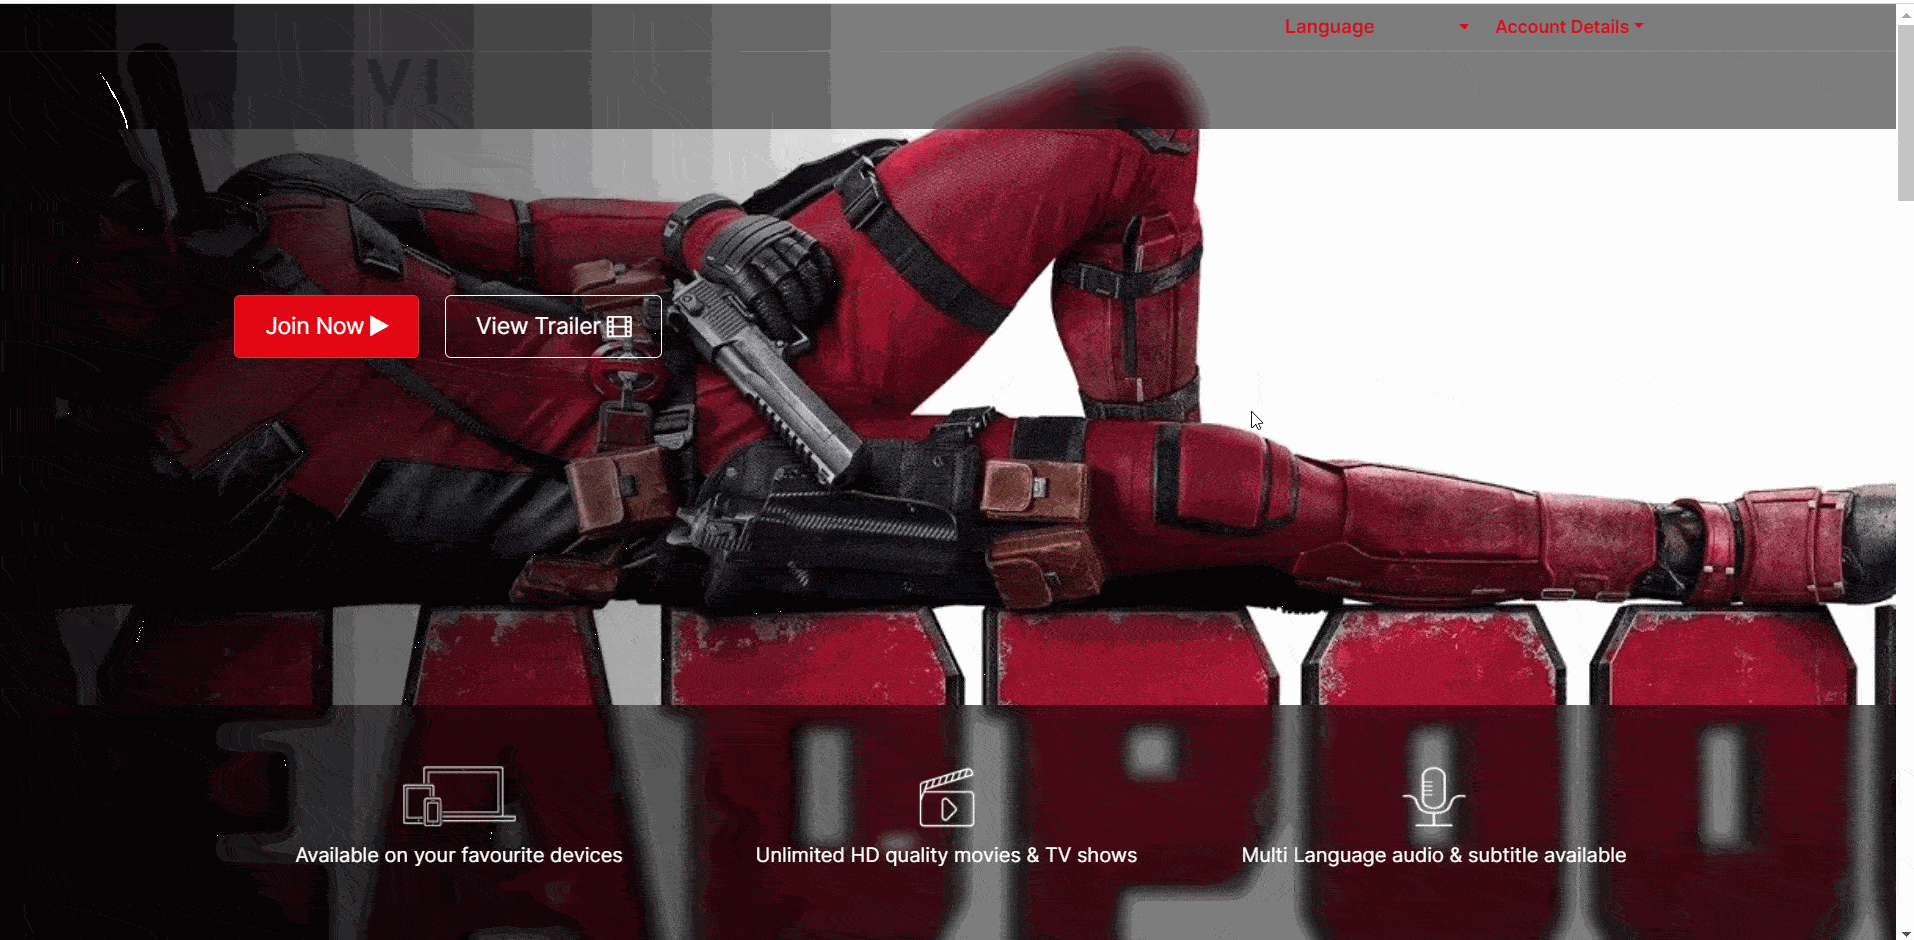
2. Second widget item: Widget code in the CMS – “whatever_mood_you”
You can change the texts in the widget in the widget editor in the CMS. After editing the widget, refresh the homepage. You will see the changes.
- To edit this widget, navigate to “Website” -->” Widgets” in the CMS.
- Click on “Edit” to edit the widget and then click on “Save and Continue”.
- Refresh your homepage to view the changes.
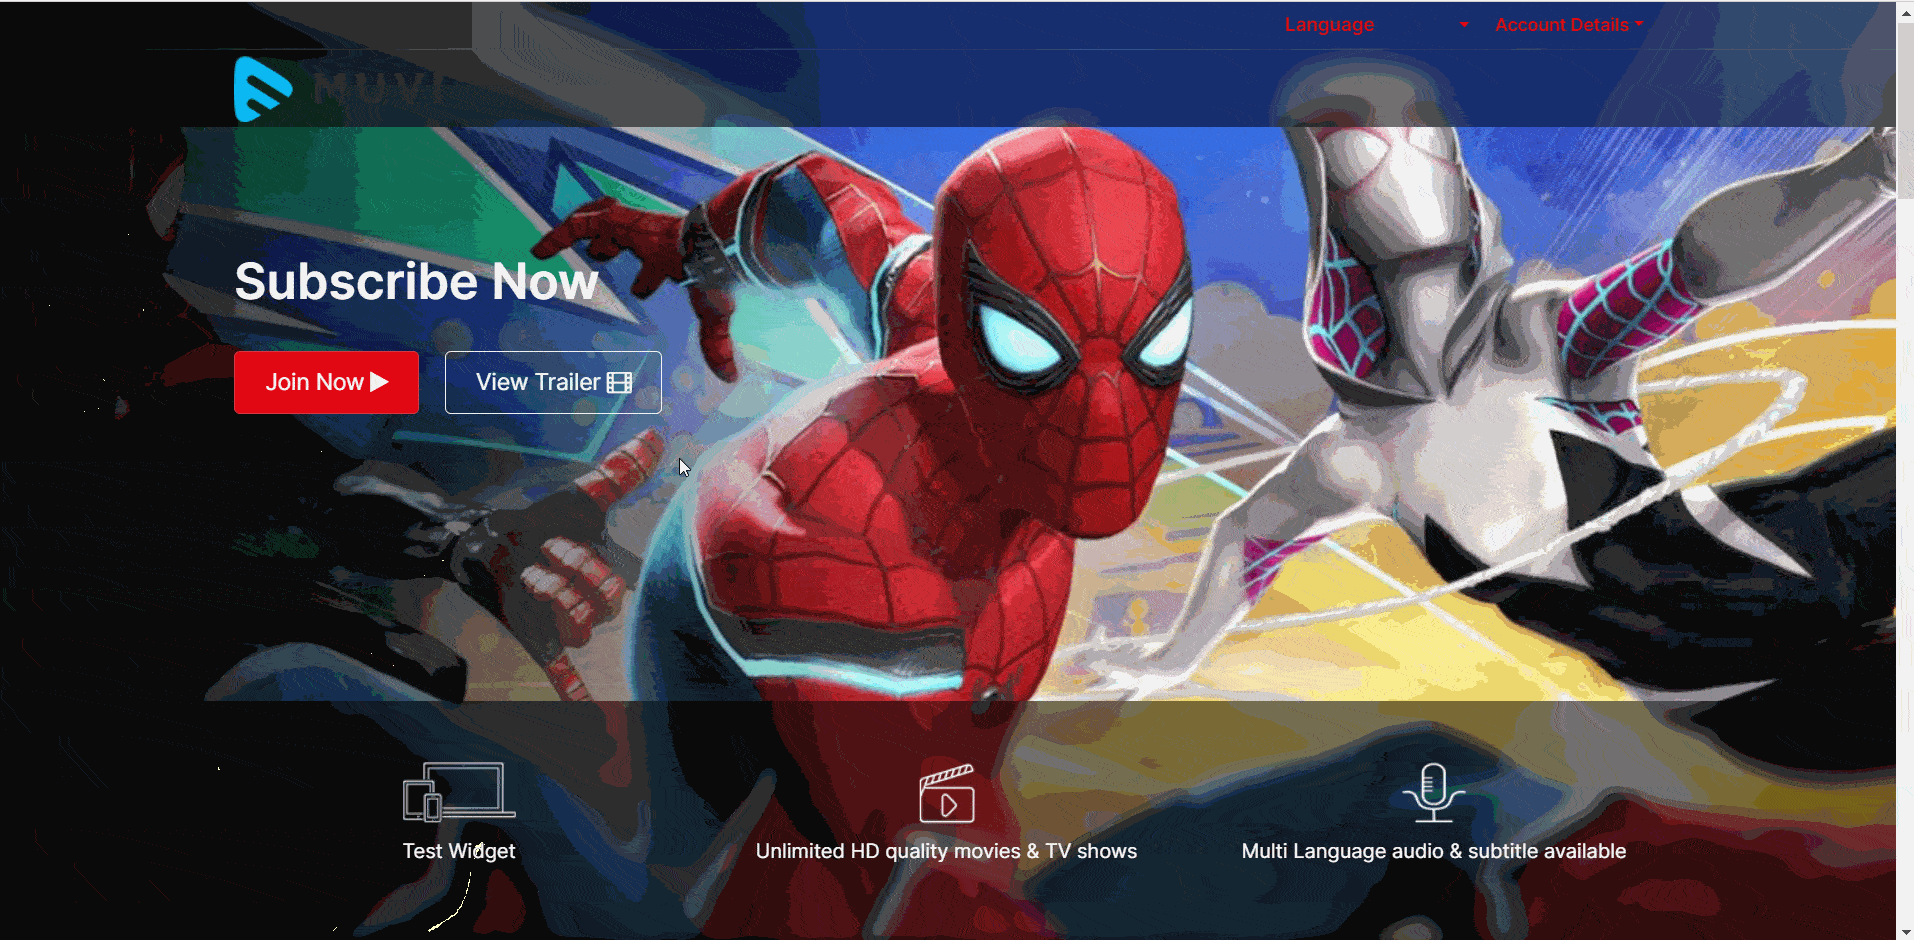
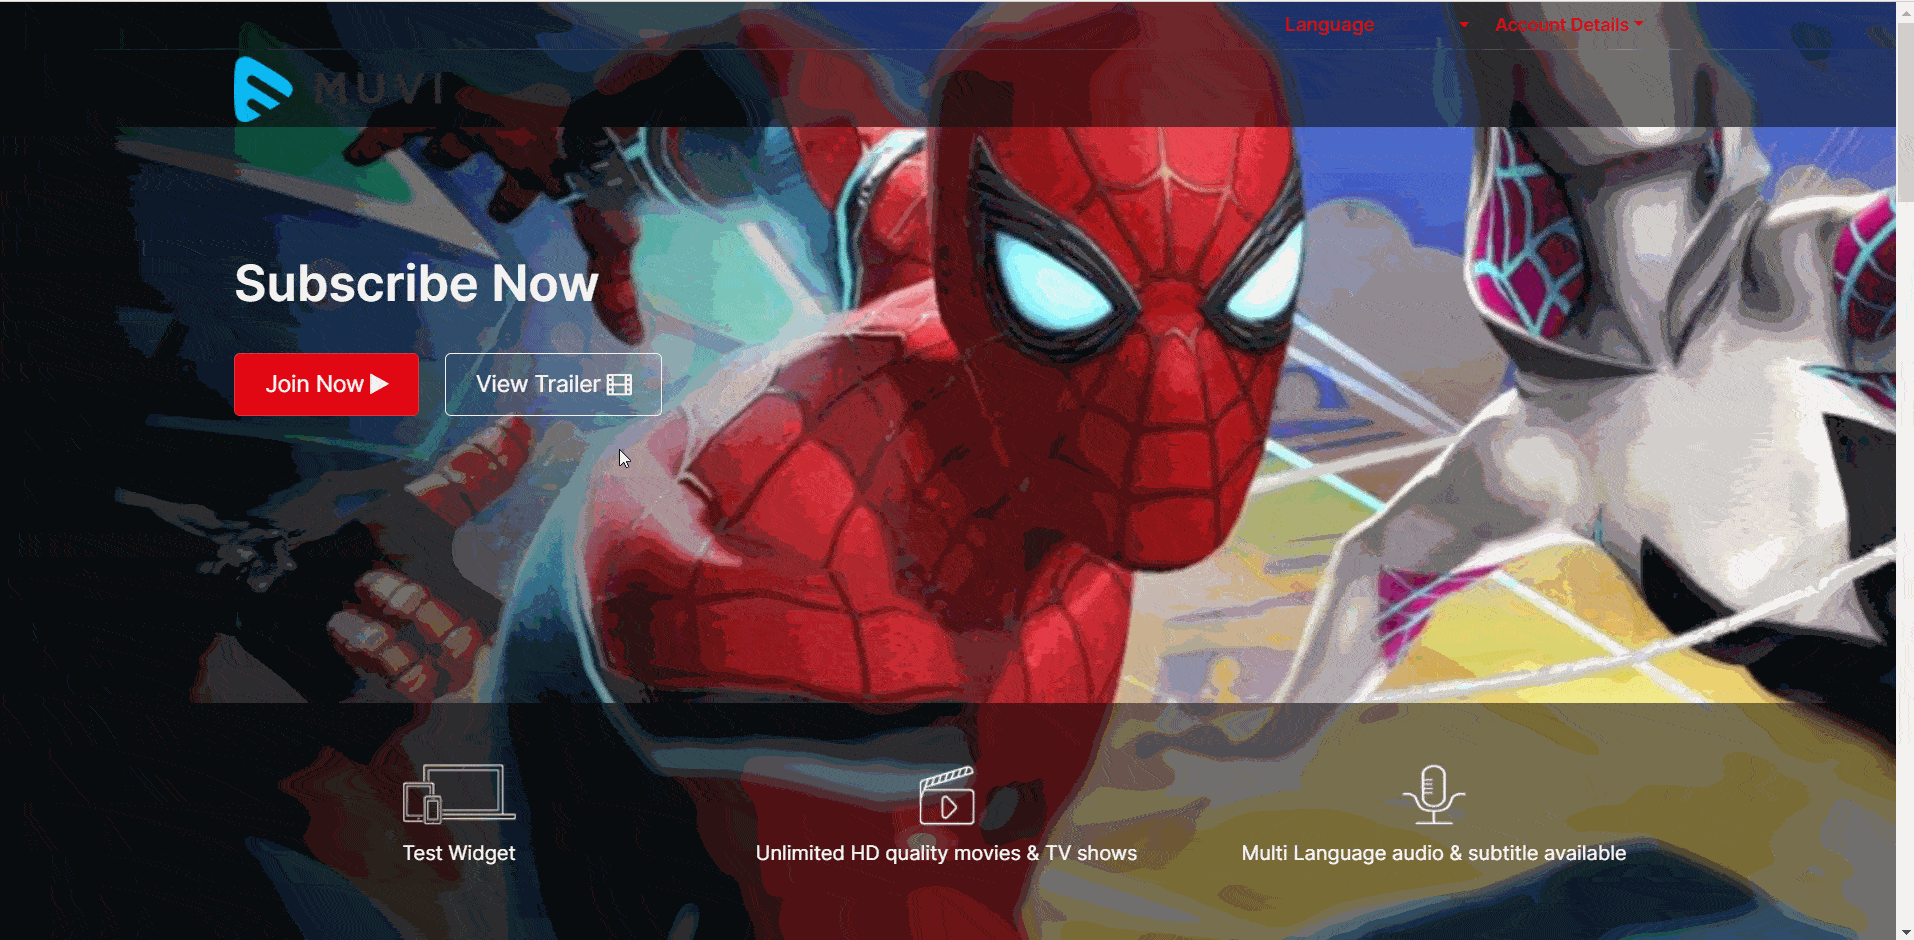
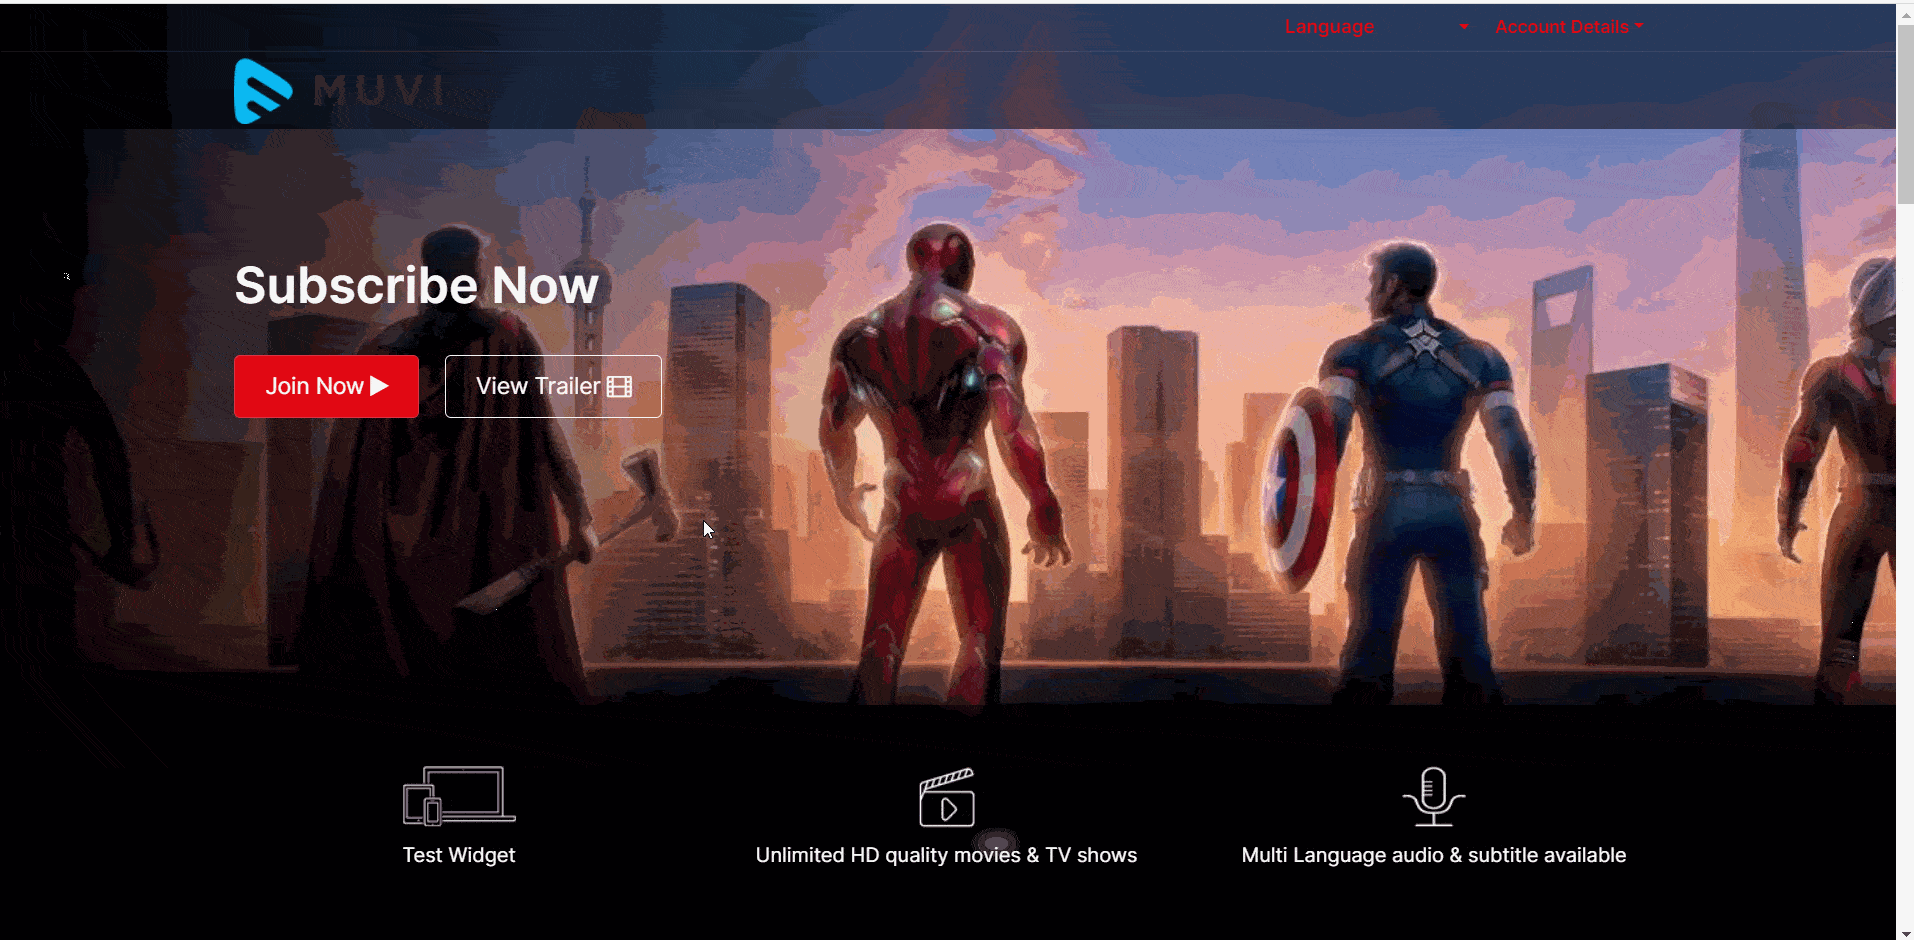
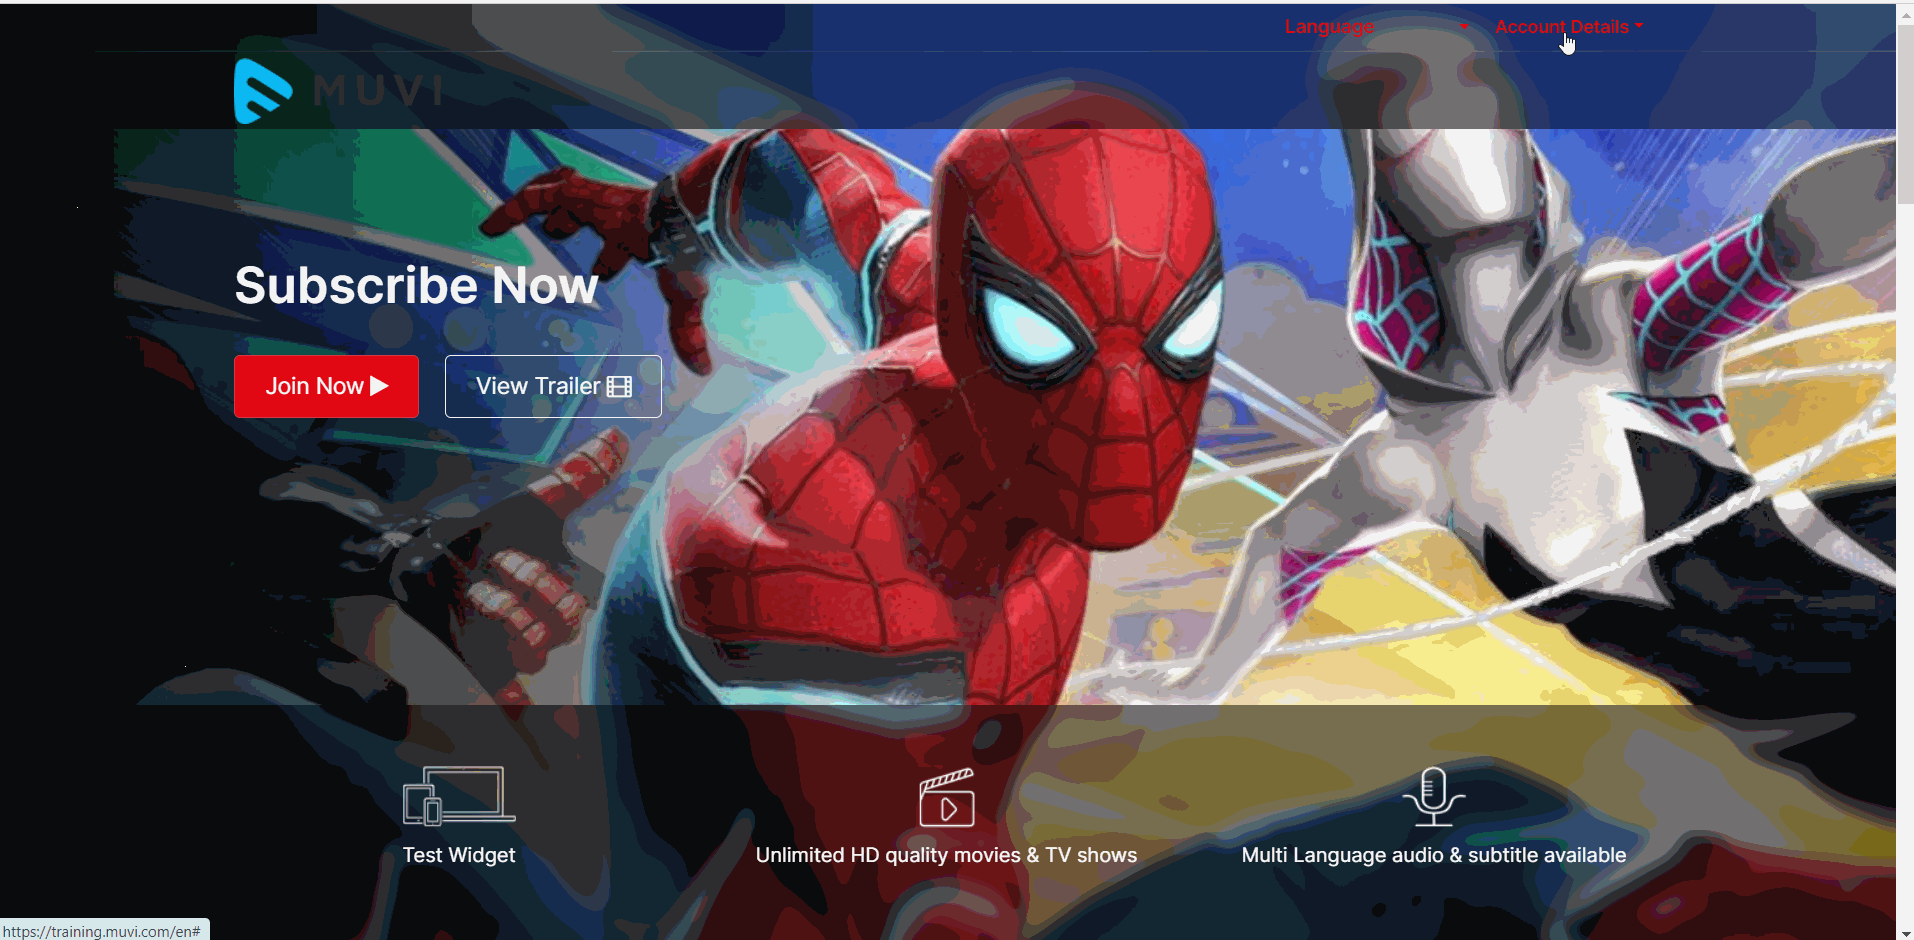
3. Third widget item: Widget code in the CMS – “home_page_slider1_content1”
This item specifically highlights a specific content. To show content, we just need to give the permalink of the content in the widget content section and the details of that content will appear in that place.
For the first content in the slider, ‘home_page_slider1_content1’ widget is used and for the second content in the slider ‘home_page_slider1_content2’ widget is used.
- To edit this widget, navigate to “Website” -->” Widgets” in the CMS.
- Click on “Edit” to edit the widget and then click on “Save and Continue”.
- Refresh your homepage to view the changes.
| Note: You can find these sections in views->site->index.html. We have used AngularJS to show this section. We fetched the permalink from the widget and used GetContentDetails API to get all the content-related data. |
4. Fourth widget item: Widget code in the CMS – “one_account_for”
You can change the texts in the widget in the widget editor in the CMS. After editing the widget, refresh the homepage. You will see the changes.
- To edit this widget, navigate to “Website” -->” Widgets” in the CMS.
- Click on “Edit” to edit the widget and then click on “Save and Continue”.
- Refresh your homepage to view the changes.
5. Fifth widget item: Widget code in the CMS – “home_page_slider2_content1” & “home_page_slider2_content2”
This is exactly like the 3rd widget. We are displaying another two contents here by adding the permalink in the content part of the widget. And using GetContentDetails API we are displaying the content-related data.
- To edit this widget, navigate to “Website” -->” Widgets” in the CMS.
- Click on “Edit” to edit the widget and then click on “Save and Continue”.
- Refresh your homepage to view the changes.
6. Sixth widget item: Widget code in the CMS – “our_features”
You can change the texts in the widget in the widget editor in the CMS. After editing the widget, refresh the homepage. You will see the changes.
- To edit this widget, navigate to “Website” -->” Widgets” in the CMS.
- Click on “Edit” to edit the widget and then click on “Save and Continue”.
- Refresh your homepage to view the changes.

7. Seventh and the last widget for the homepage: Widget code in the CMS - “footer_widget”. This is common for all the pages.
You can change the texts in the widget in the widget editor in the CMS. After editing the widget, refresh the homepage. You will see the changes.
- To edit this widget, navigate to “Website” -->” Widgets” in the CMS.
- Click on “Edit” to edit the widget and then click on “Save and Continue”.
- Refresh your homepage to view the changes.
(After Login):
We are showing banners and featured sections on the after-login home page which are added in CMS.
How to Customize Register & Login page
Register and login page background image you can change by changing the. inner-content-top2:before CSS. Currently, this background CSS is added for this class :
background: url(../images/outer-bg.jpg) no-repeat center top;
You can change the texts in the widget in the widget editor in the CMS. After editing the widget, refresh the homepage. You will see the changes.
- To edit this widget for both the “Register” and the “Login” page, navigate to “Website” -->” Widgets” in the CMS.
- Click on “Edit” to edit the widget and then click on “Save and Continue”.
- Refresh your homepage to view the changes.
Customizing Category Listing Page
For the “Category Listing Page,” we have one widget for the background image, and the widget code in the CMS is common_background.
So we need to add {$this->widgets['common_background']['content']} in views/media/list.html (in the Template Editor) and in the CMS, in the widget editor, we need to set the background image.
- To edit this widget, navigate to “Website” -->” Widgets” in the CMS.
- Click on “Edit” to edit the widget.
- Click on the “Source Code” <> to view the image source.
- You can remove the existing image source and add a new image.
- Click on “Save and Continue”.
- Refresh your homepage to view the changes.
Customizing Content Details Page
We are showing Headlines, Genres, Duration, Stories, Release Date, Pricing, Add to Favourite, Play Button, Trailer, Casts, Related Content, and Reviews on the same page. The design is different from other templates. We have used the “common_background” widget for the background image when the banner of the content is not present for a content.
You can change the image by following the process mentioned above for the “Category Listing Page”.

Customizing User Menu Pages
You can customize user menu pages like Profile, My Favourites, Watch history, etc.
We have one common widget for the background images for each page. Widget code: “common_background”. You can change the image by following the process mentioned above for the “Category Listing Page”.
Customizing CSS
All the template-specific CSS changes are listed in /css/style.css in the Template Editor. If you want to add a new CSS to this template, then please create a new CSS file - custom.css inside the CSS folder and add your custom CSS into that file.