Allow End-Users to Access Embed Codes of Content
Product: Muvi One (Classic)Creating Policy Rules to Give Access to Embed Code
How to Assign Policy Rules to PPV Monetization
How End-Users Access Embed Code of Content
How Admin Can Manage Domain Access for Embed Code
Introduction
By enabling the embed code access option via the Policy Engine, you can allow your end-users to access the embed codes of your content from the Muvi One store front end. Admin can create rules in the Policy Engine to allow the end-users to access the embed code of content. Then, the admin needs to assign the rule to PPV monetization (i.e. PPV Category).
When the end-users purchase the PPV (pay-per-view) content that is assigned with the embed code policy rule, they can view the embed code of the content in “My Library” under their profile. The end-users can copy the embed code and share it on any third-party website. However, first, the end-users need to whitelist the domain where they want to share the embedded code of the content.
| Note: This feature only works if you have created multiple end-user groups. To Know, how to create end-user groups please click here. |
Creating Policy Rules to Give Access to Embed Code
Once the User Groups are created, you can add Policy Rules to give access to embed code to the end-users.
| Note: First you need to enable the Policy Engine if it is not enabled. To know how to enable the Policy Engine, please click here. |
- To add new rules, navigate to “Policy Rules” -->” Add Rule” in the CMS
- In the “Rule Name” field, type the name of the rule.
- Type a short description of the rule in the “Short Description” field.
- For the “Monetization Type” field, select “One Time Monetization” from the drop-down.
- In the "Access Duration" field, mention how long content can be accessed by users. You can mention the access duration in "Minutes", "Days" and "Months". If you will mention 2 days, then the users can access the content for 2 days after purchasing it.
- In the “Resolution” field, select the type of resolution from the drop-down (HD/SD). If you will select HD, then users will view videos in HD resolution. If you select SD, then users will see the content in SD resolution.
- Mention the number of views in the "Views" field. If you will mention 3, then the users can watch a video 3 times after purchasing it.
- In the "Watch Duration" field, mention the watch duration in "Minutes", "Hours" and "Days". If you will mention 10 hours, then the users can watch a video only for 10 hours once they start watching a video.
- For the “Show Embed Code” field, select “Yes” from the drop-down.
- Select a “User Group” from the drop-down. The rule will be applicable to this specific group. For different user groups, you can create different rules.
- Click on “Save” to add the rule.

How to Assign Policy Rules to PPV Monetization
When adding the PPV monetization, you can select the Policy Rules from the drop-down. You can add the rule to PPV Categories.
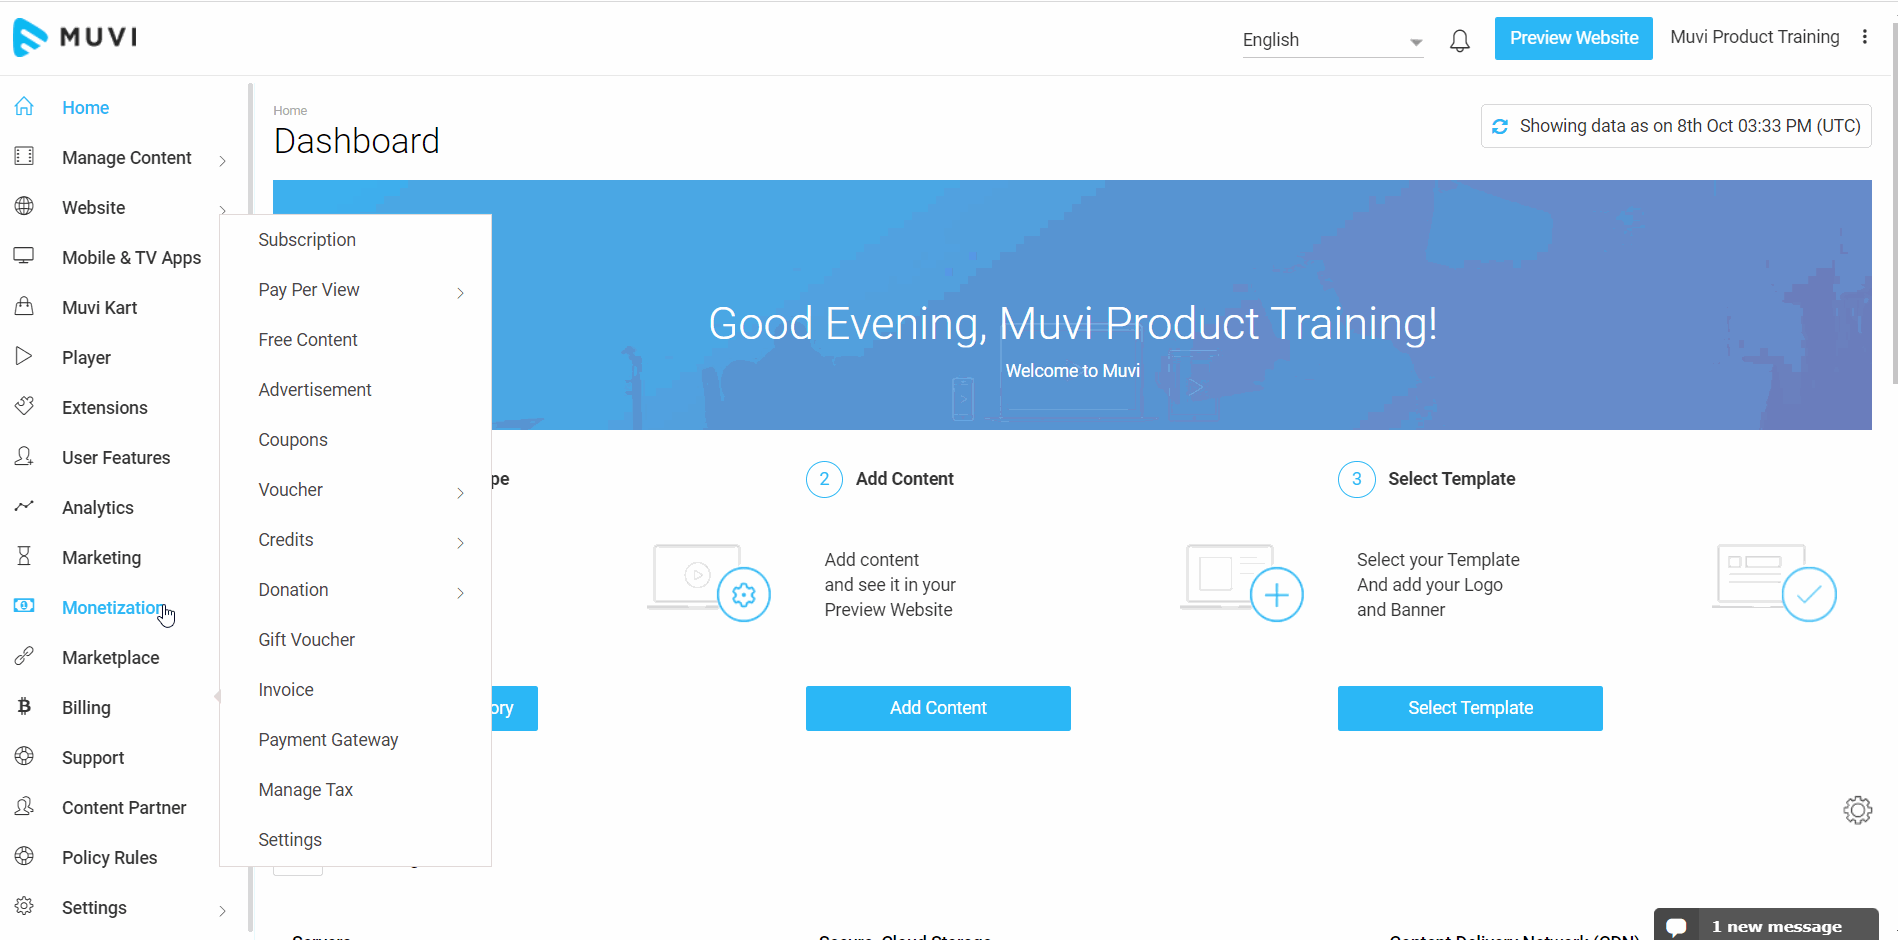
- To add Policy Rules to PPV Category, navigate to "Monetization" --> “Pay Per View” -->” Pay Per View”.
- Under “PPV categories for Single-part Content”, click on “Add Category”.
- Type the “Title”, select the “Rule” from the drop-down, type the “Description”, and type the “Price” for the non-subscribers and subscribers.
- Click on “Add”.
- To add the PPV category price to content, navigate to “Manage Content” -->” Content Library” in the CMS.
- Click on “Set PPV” on the right-hand side of the content.
- Select the PPV Category price from the drop-down.
- Click on “Add”.
How End-Users Access Embed Code of Content
- While registering to your website, the End-Users need to select the specific User Group (to which the policy rule is assigned to access the embed code).
- Once they are registered, they can buy the PPV content (to which the policy rule is assigned).
- After purchasing the content, they can go to “My Library” under “Profile”.
- End-users can view the embedded code on the content.
- The end-users need to map a domain name where they want to share the content via the embedded code. They can add multiple domains.
- They can copy the embed code and share it on the website.
How Admin Can Manage Domain Access for Embed Code
Admin can manage the domain access for the embed codes of content from the Muvi One CMS. Admin can add a new domain to the list or remove an existing domain from the list that is already added by the end-user.
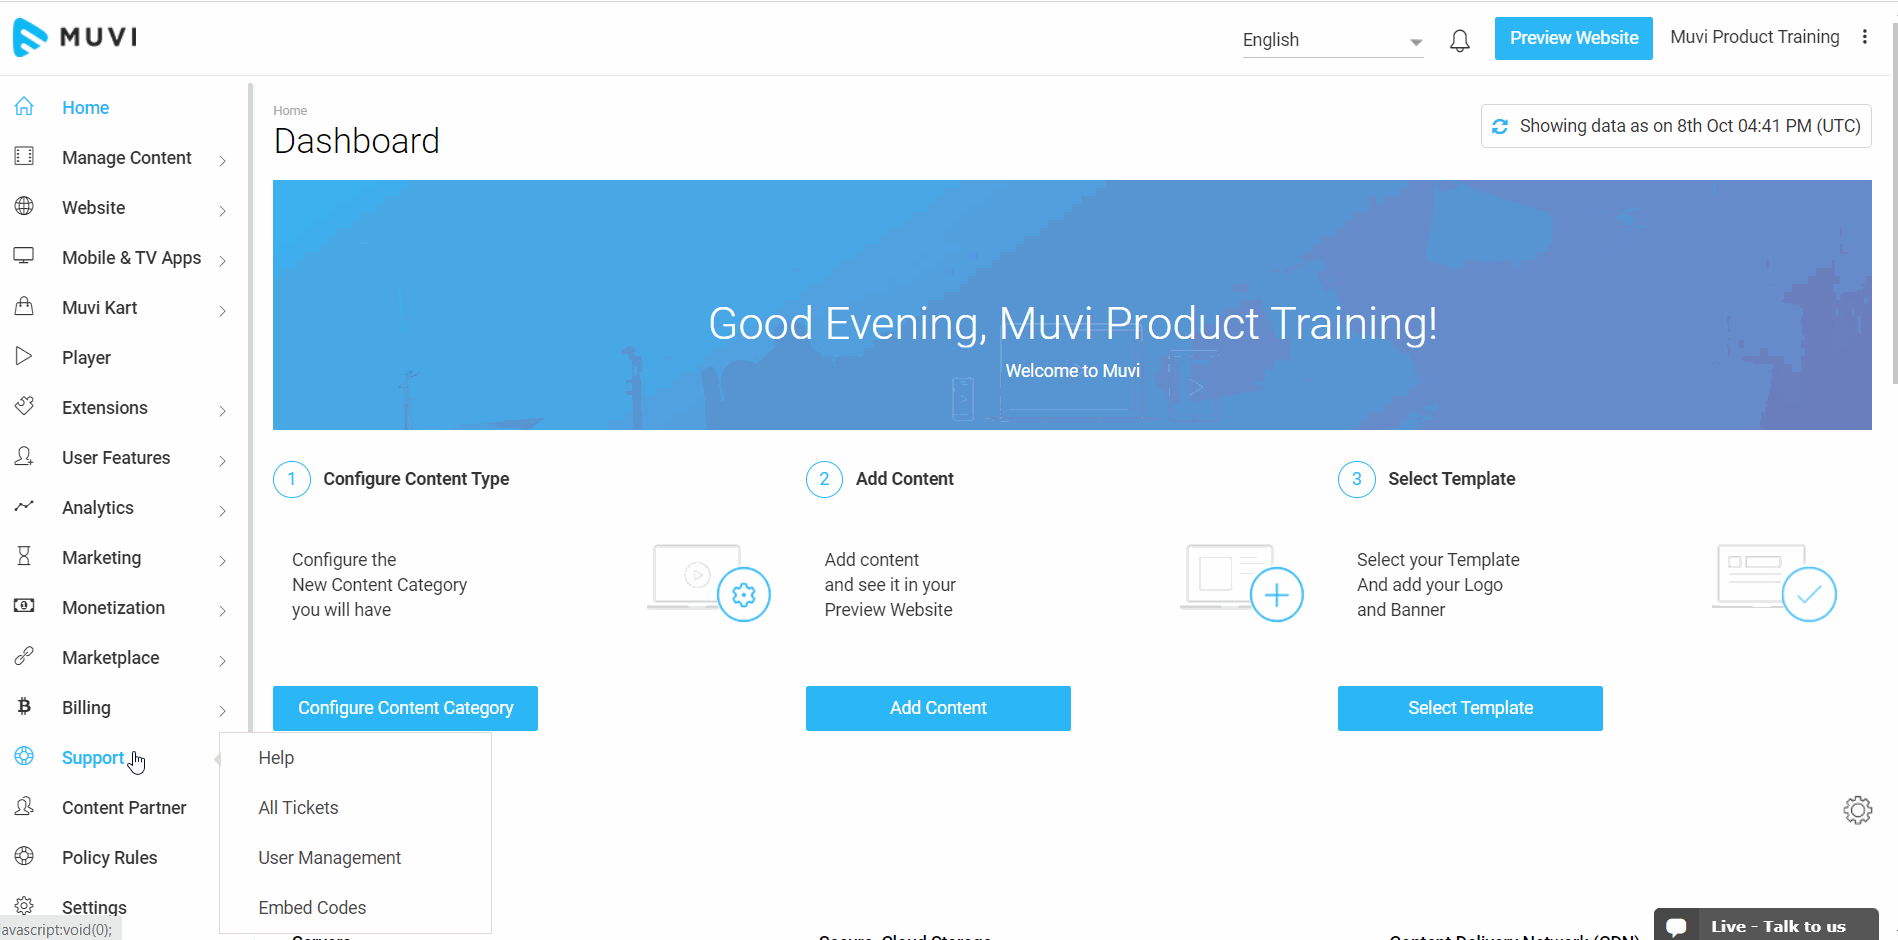
- To manage the domain access for embed codes, navigate to “Support”-->” Embed Codes” in the CMS.
- Admin can view the details of the embed code access for different end-users.
- Admin can view the “Name” of the end-user, “Email” of the end-user, “Content” purchased by the end-user, “Transaction Reference” of the Payment Gateway, “Whitelisted URLs” and “Status” of the accessed embed codes.
- There are different filters available to find any specific end-user details. Admin can use the “Search” option to find any specific end-user details by typing their name/email, admin can also use the “Calendar” filter or the “Status” filter.
- To add a new domain to the list, the admin needs to click on the “Edit” button under “Action”.
- Type the domain name and click on “Save”. Repeat the process to add multiple domains.
- To remove an existing domain, click on “Edit” under “Action”. You can see the domain list. Click on “Remove” to remove a domain from the list.
- Admin can also export the embed code details in CSV format. To export the embed code, click on “Export”.