How to Add Channels in Muvi One
Product: Muvi OneBenefits of Using the Channel Feature
Showing Channel on the Website
How the End-Users View the Channel
Introduction
The Channel feature in Muvi One allows you to showcase a program schedule for live TV channels on your website, mobile apps, and TV apps. By integrating the Electronic Program Guide (EPG) and the HLS URL of live TV channels, you can provide an intuitive viewing experience to your audience. Also, you can earn revenue from the end-users by monetizing the channel using Muvi One’s monetization feature.
What is EPG?
EPG (Electronic Program Guide) is an interactive, digital guide that provides detailed scheduling information for TV programs. It allows viewers to browse, search, and plan their viewing experience for live TV channels. EPG is often displayed on websites, mobile apps, and TV apps, offering a convenient way to access program schedules directly from the screen.
Benefits of Using the Channel Feature
- Enhances user experience by providing a detailed schedule for live channels.
- Supports integration with Muvi Playout or third-party sources.
- Offers flexibility to configure EPG across multiple platforms (web, mobile, and TV apps).
- Monetize the channels using Muvi One’s monetization feature and earn revenue.
Prerequisites
Before enabling the Channel feature, ensure you have the following:
1. EPG in the required format:
- XML TV format: For websites and TV apps.
- JSON format: For mobile apps.
2. HLS URL of the Live TV Channel:
- Sourced from Muvi Playout or a third-party provider.
Note:
|
Enabling Channel in Muvi One
First, you need to enable the “Channel” feature in the Muvi One CMS to add the EPG data and HLS URL of a live TV channel and display it on your website and app.
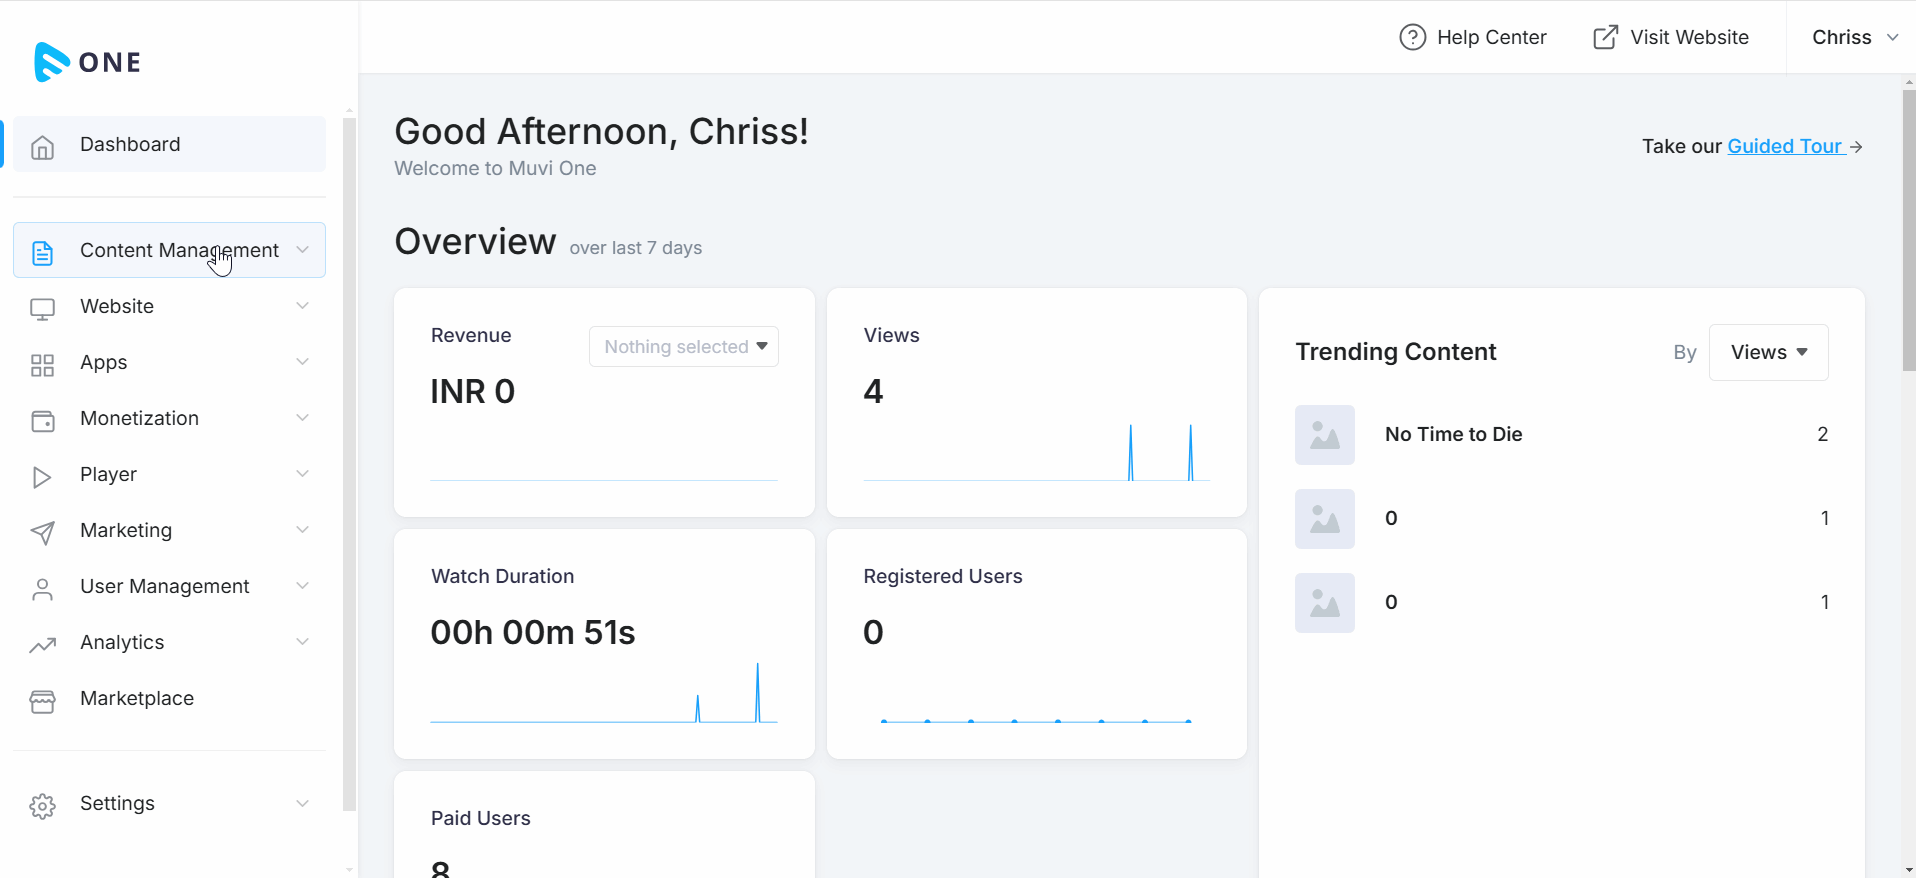
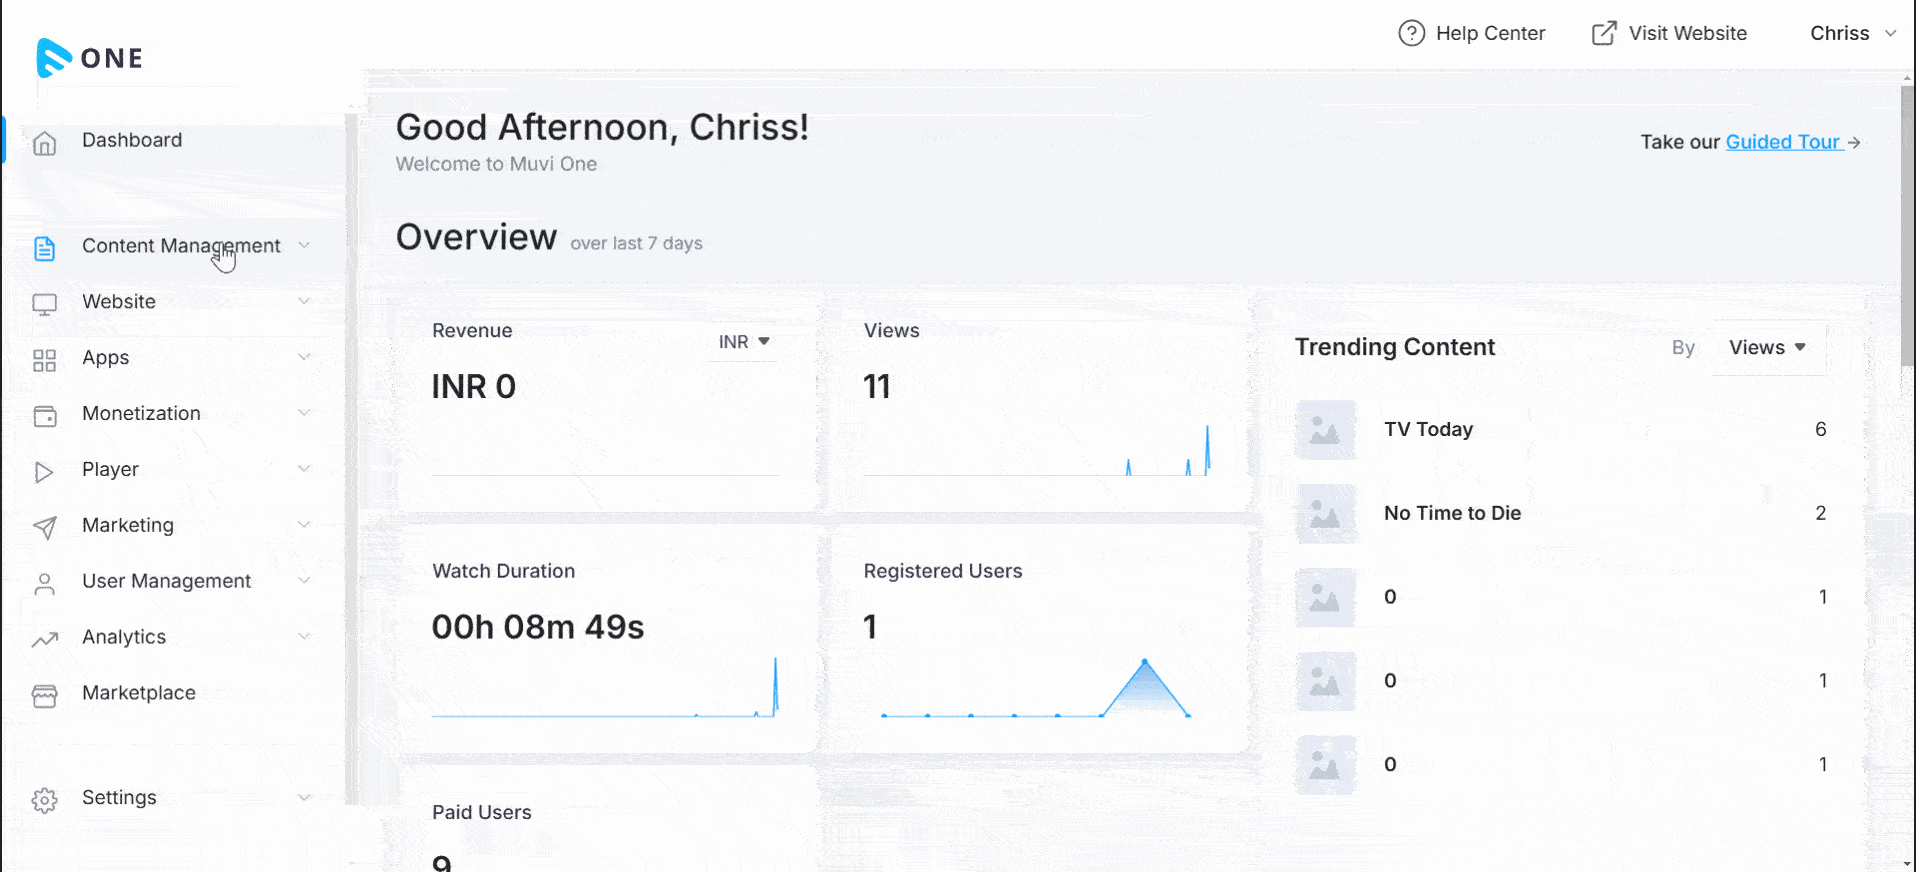
- To enable the Channel feature, navigate to “Content Management” -->” Content Settings” in the Muvi One CMS.
- In the “Content Settings” click on the “Advanced” tab.
- Enable “Channel”.
- Once the Channel is enabled, a new Content Category named “Live TV” will be generated.
- A new Content Form will be created in the CMS to add the EPG data and HLS URL.
| Note: Do not delete the Content Category “Live TV”. All your Channel and EPG data will be lost. |
How to Add a Channel
Once the channel is enabled, you can add multiple channels with different EPGs and HLS URLs.
- To add a channel, navigate to “Content Management”-->” Content Library” in the CMS.
- Click on “Add Content”.
- In the “Content-Type”, select "Video” from the drop-down menu.
- In the “Content Format”, select "Channel” from the drop-down menu.
- Type the “Channel Name” (e.g., Live TV, Entertainment Live, Sports, XYZ, etc.).
- The “Permalink” will be automatically generated.
- In the “Content Category”, select “Live TV” from the drop-down menu.
- Type a “Description” about the channel (e.g., watch your favorite movies, watch your favorite sports, etc.). This is optional.
- Type the “Search Tags” (e.g., TV Shows, Live TV, Sports TV, etc.). This is optional.
- In the “XMLTV URL” field, paste the EPG in the XML TV format that you already copied from Muvi Playout or a third-party source. This is required to show the EPG on your front-end website.
- In the “JSON” field, paste the JSON code of the EPG. This is required to show the EPG on mobile devices (e.g., Android Phones, and iOS Phones).
- Under the “Channel Logo”, click on “Add File” to browse and upload a channel logo. You can upload the channel logo for the website, mobile apps and TV apps.
- Under “Primary Media”, click on “Add Media”.
- Under “Media Type”, select “Feed”.
- Type or paste the HLS URL of the channel (e.g., https://xyz.m3u8).
- Click on “Upload”.
- Click on the “Banner Tab” to upload a banner. Click on “Add File” to browse and upload a banner image. You can upload the banner image for the website, mobile apps, and TV apps.
- Click on “Save and Publish” to publish the channel.
- You can select “Save as Draft” if you want to save the channel as a draft and publish it later after making changes.
- You can also publish the channel at a future date by selecting “Save and Schedule”.
- Repeat the process to add multiple channels.
Showing Channel on the Website
Once the channel is created, you can show the channel with EPG display on your website. The end-users can view the channel with EPG on the website.
- To show the channel category on the website, navigate to “Website”-->” Templates” in the CMS.
- Click on “Customize”.
- The Visual Designer (VD) console will open.
- On the navigation, click on “Edit Menu”.
- On the right-hand side click on “Add Menu”.
- Type the page name (e.g. Live TV, New Channel, My TV, etc.).
- Under “Link To”, select “Page”.
- Select the “EPG Display” page from the drop-down menu.
- Click on the “Tick Mark”.
- Click on “Save and Publish” in the top right corner.
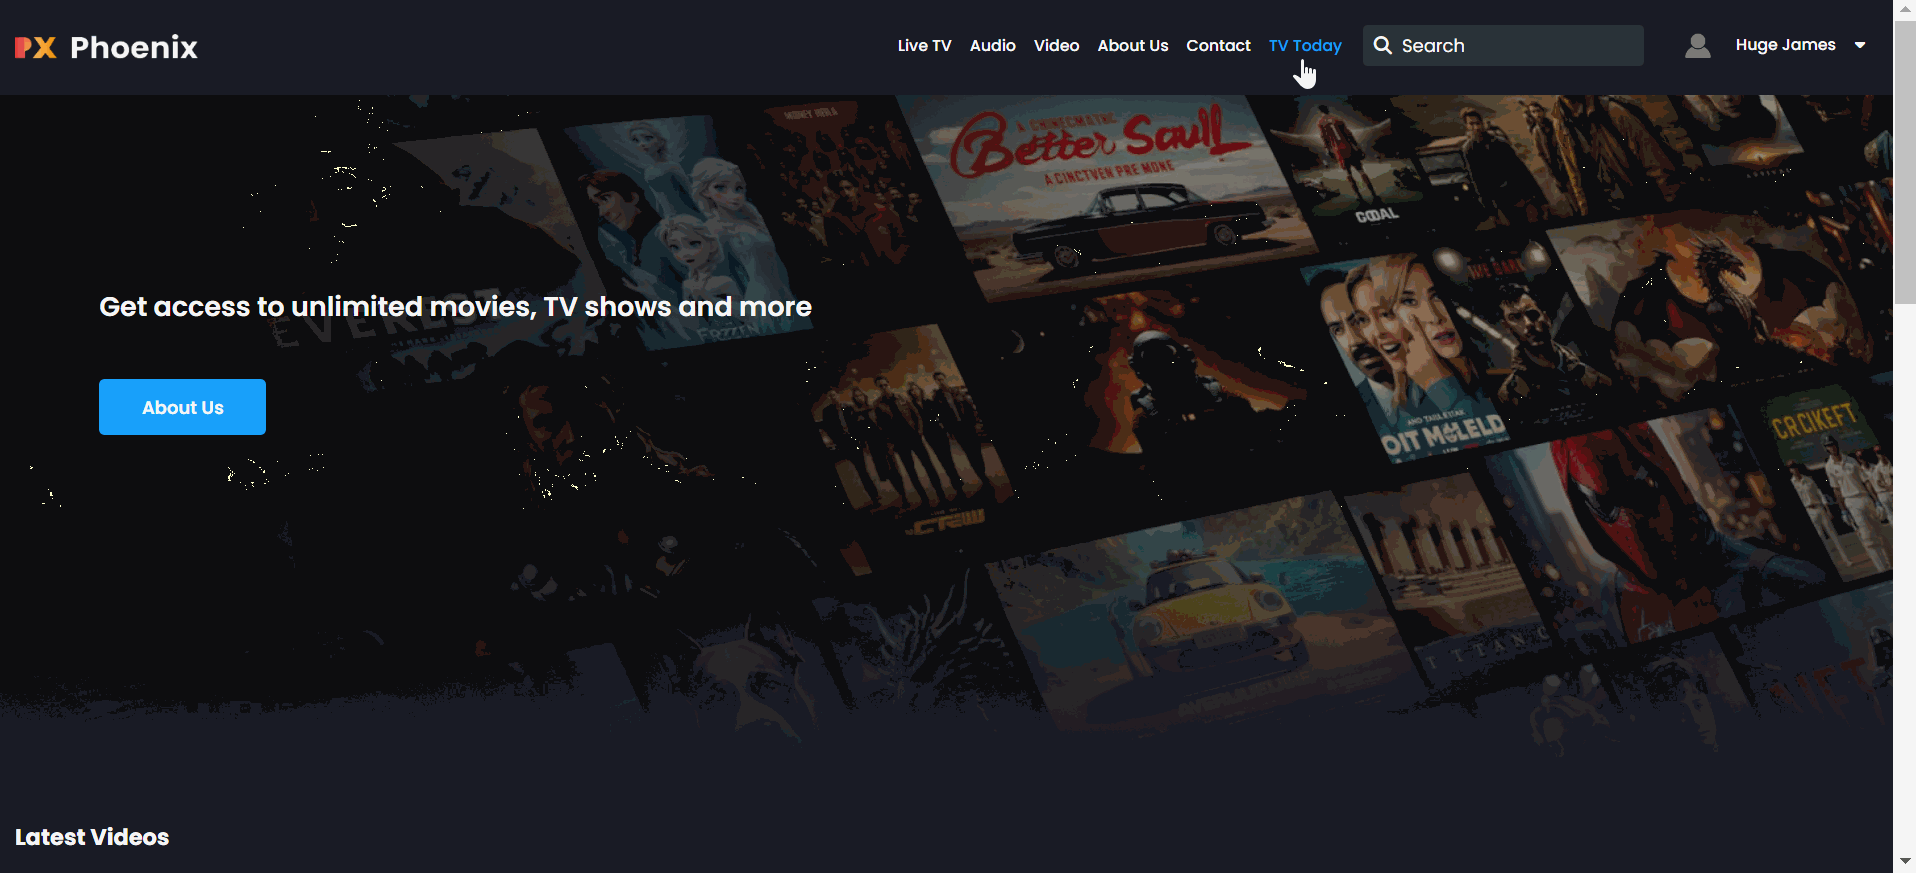
- On the website when you click on the channel page on the menu, you can see the channel with EPG.
How the End-Users View the Channel and EPG
- When end-users visit your website, they can click on the channel on the website menu and view the channel and EPG.
- End-users need to log in or sign up to view the channel and EPG.
- End-users need to click on the “Play” button to view the programs scheduled in the channel.
- They can view the scheduled programs in the EPG.