How to Use Muvi Media Connect (WordPress Media Plugin)
Product: Muvi One, Muvi Flex, Muvi LiveHow to Configure Muvi Media Connect with Muvi One Classic
How to Configure Muvi Media Connect with Muvi One
How to Configure Muvi Media Connect with Muvi Flex
How to Configure Muvi Media Connect with Muvi Live
Using Muvi Media Connect Plugin
Introduction
Muvi Media Connect is Muvi’s video and audio WordPress media plugin that allows you to manage Muvi One Classic, Muvi One, Muvi Flex, and Muvi Live's videos/audios and players within WordPress, and easily embed videos/audios in WordPress pages. To use the WordPress ott Plugin, first, you need to install it in the WordPress CMS. After installing the OTT streaming WordPress plugin, you need to configure it and then you can use it to insert video/audio content to your WordPress site. At a time, you can select multiple video/audio content and insert them into your website/blog page.
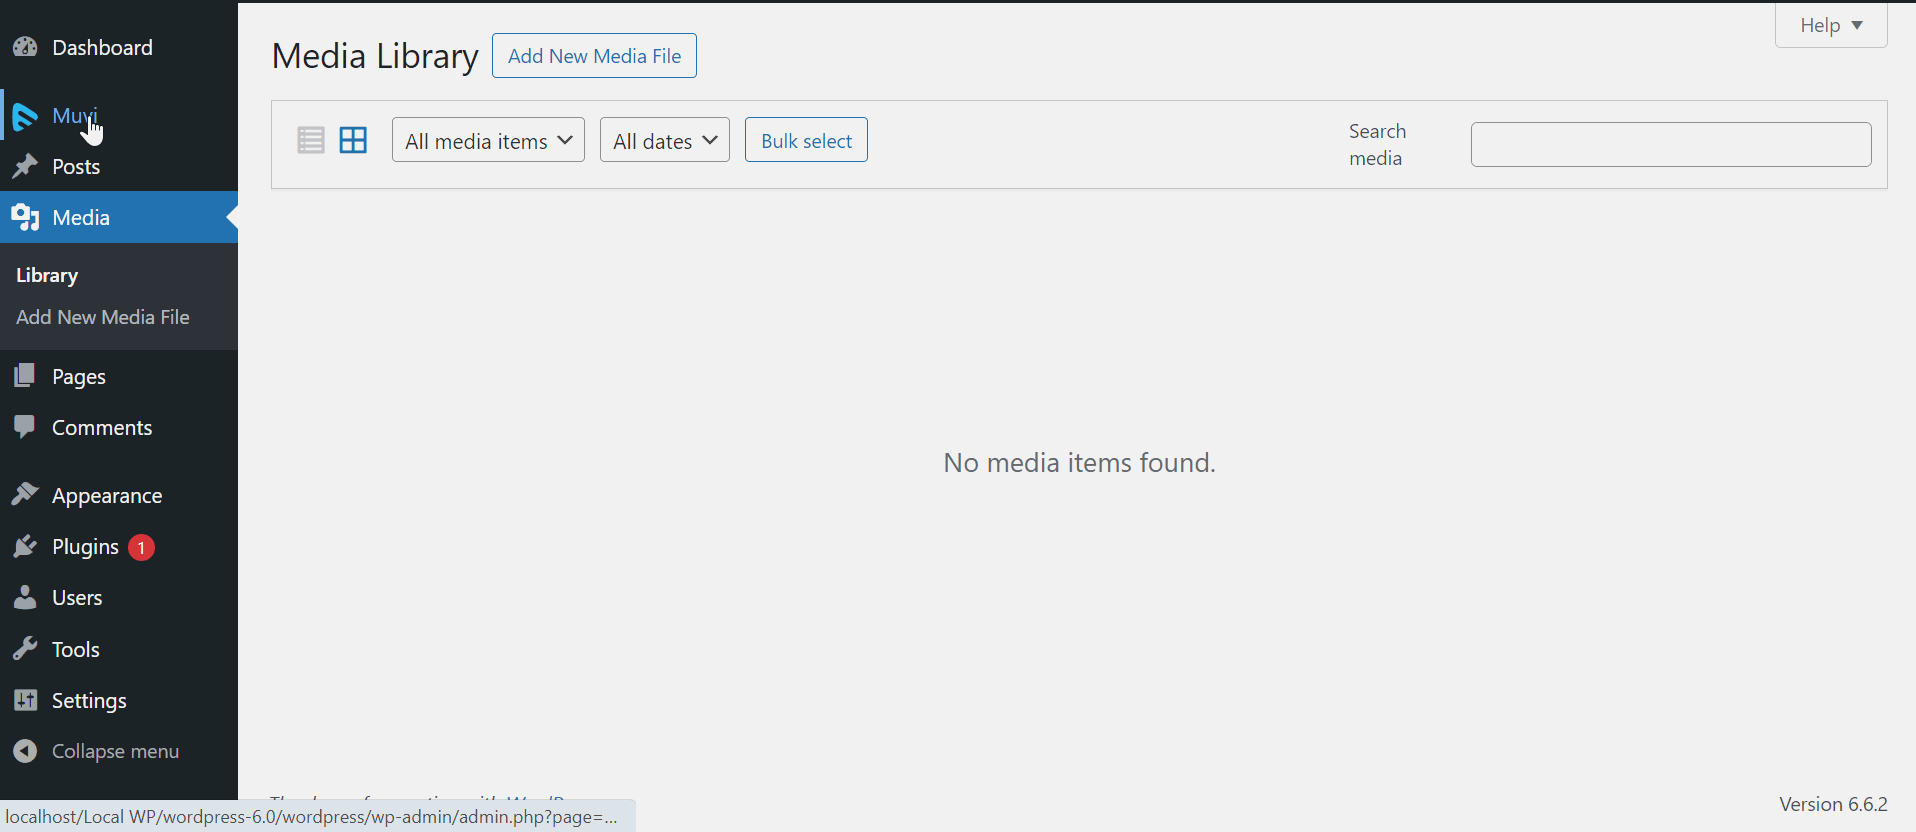
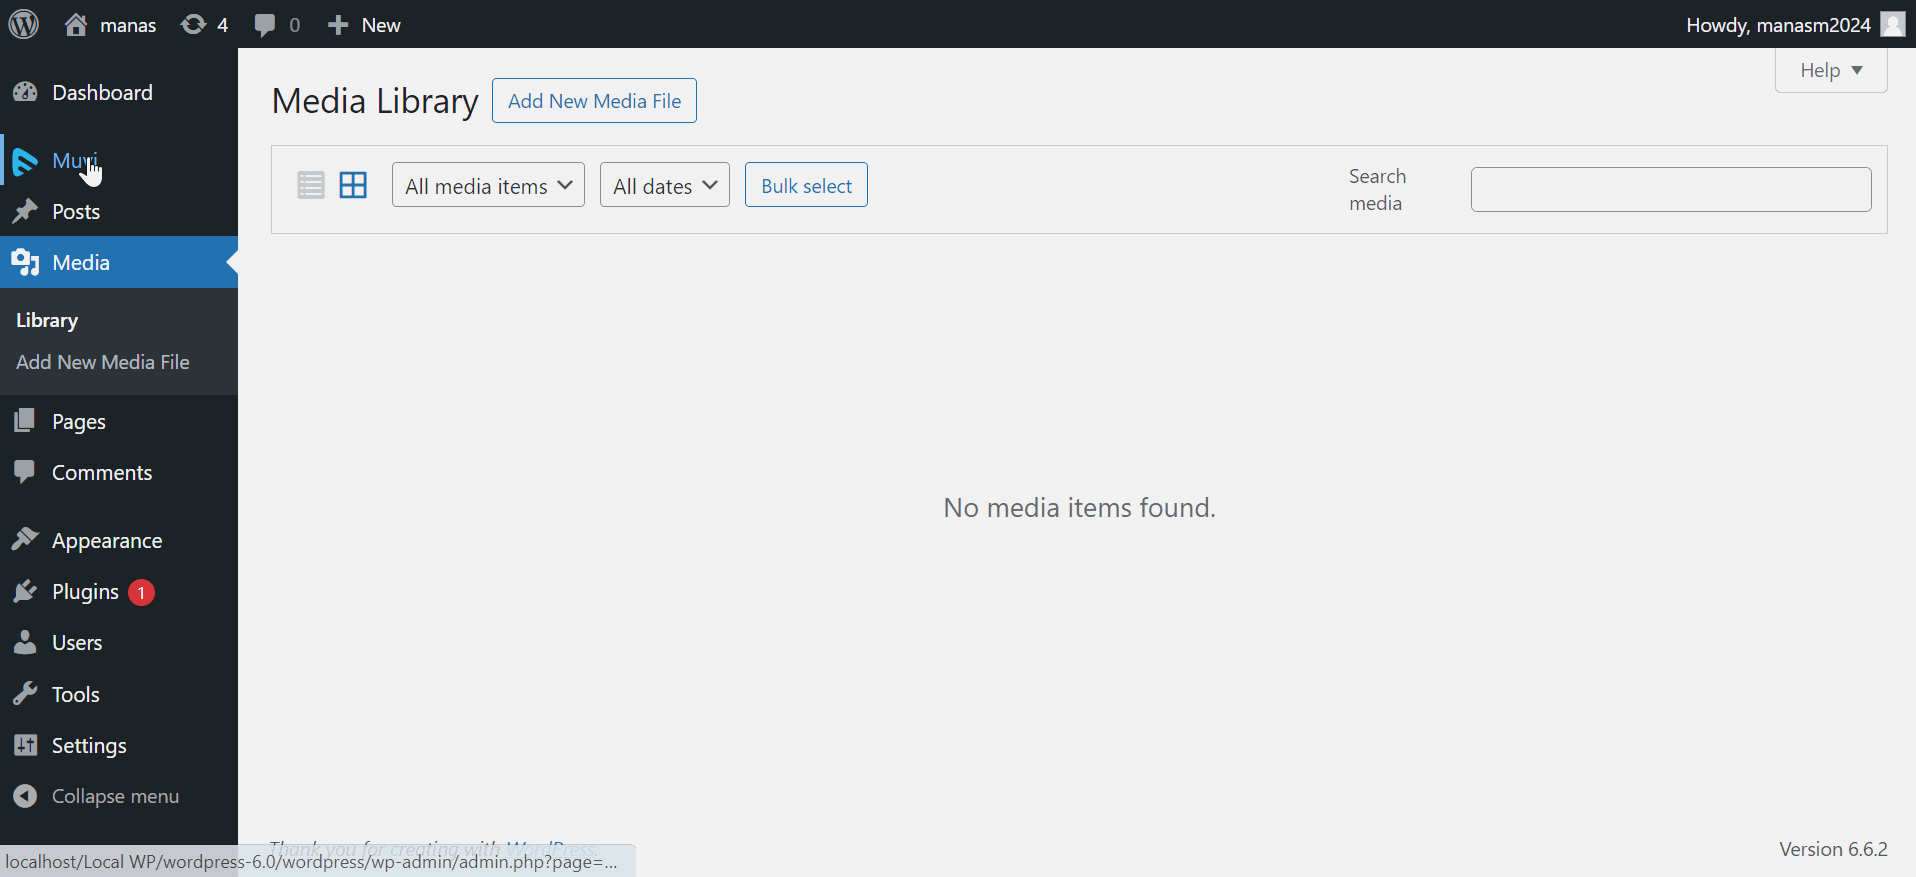
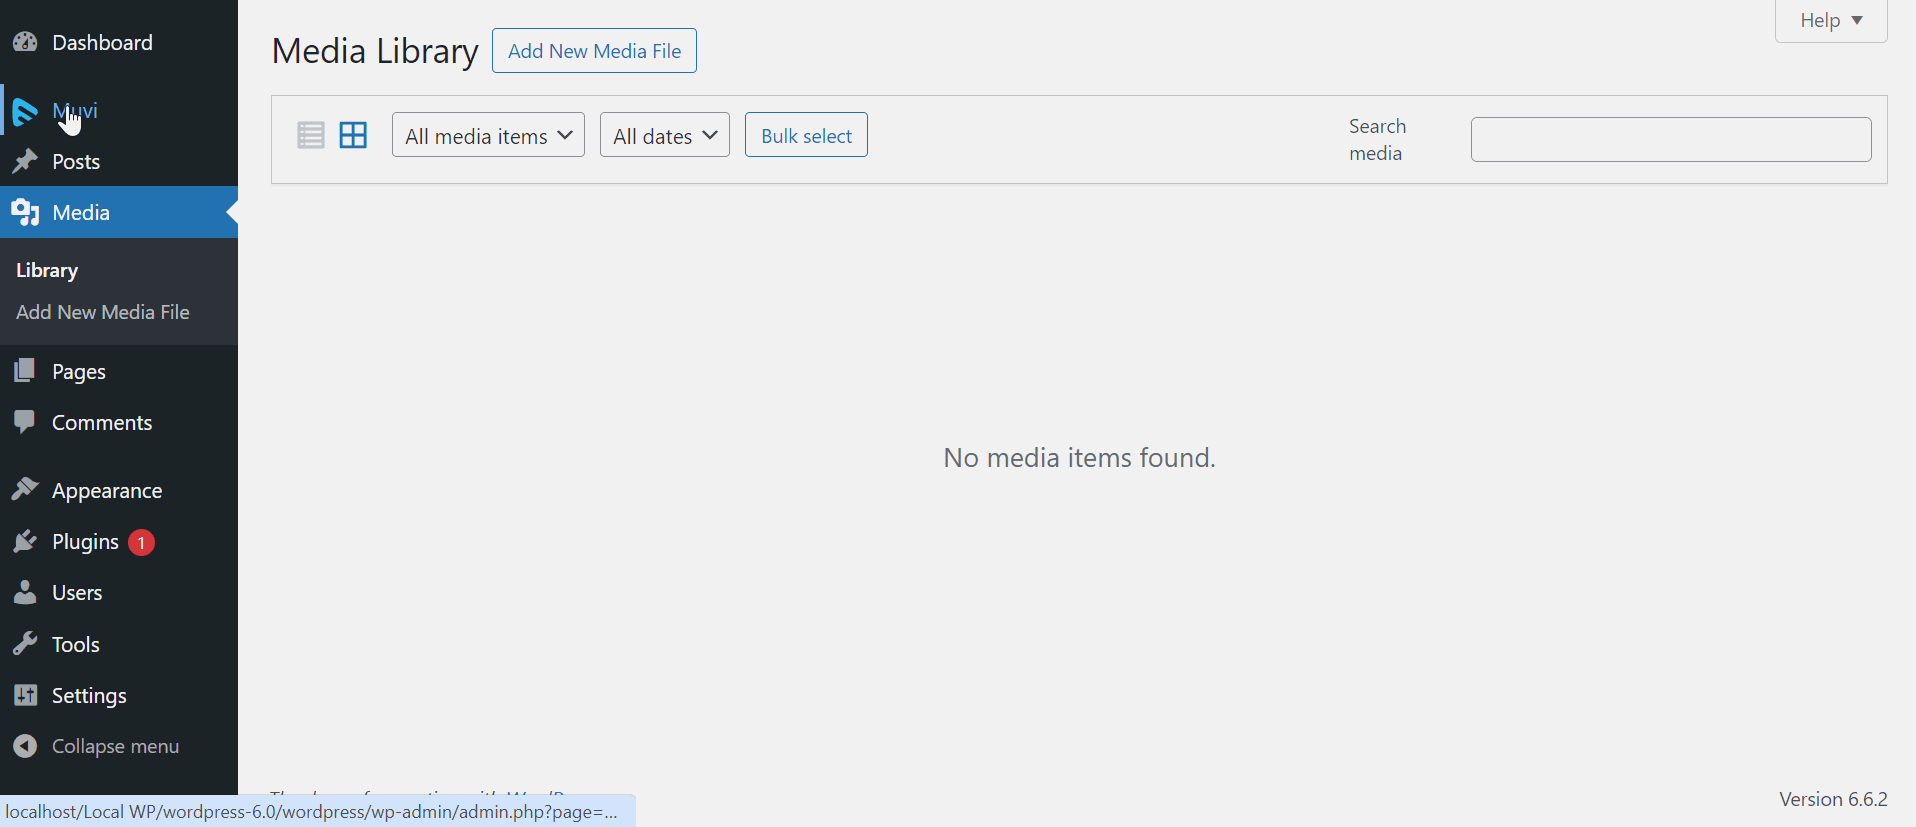
Installing the Plugin
There are two ways to install Muvi Media Connect. You can download it and then install it in the WordPress CMS, or you can directly install it from the WordPress CMS Plugin marketplace.
- Download and Install Muvi Media Connect
- Download the WordPress Muvi Media Connect
- You must click the 'Download" button to download the plugin.
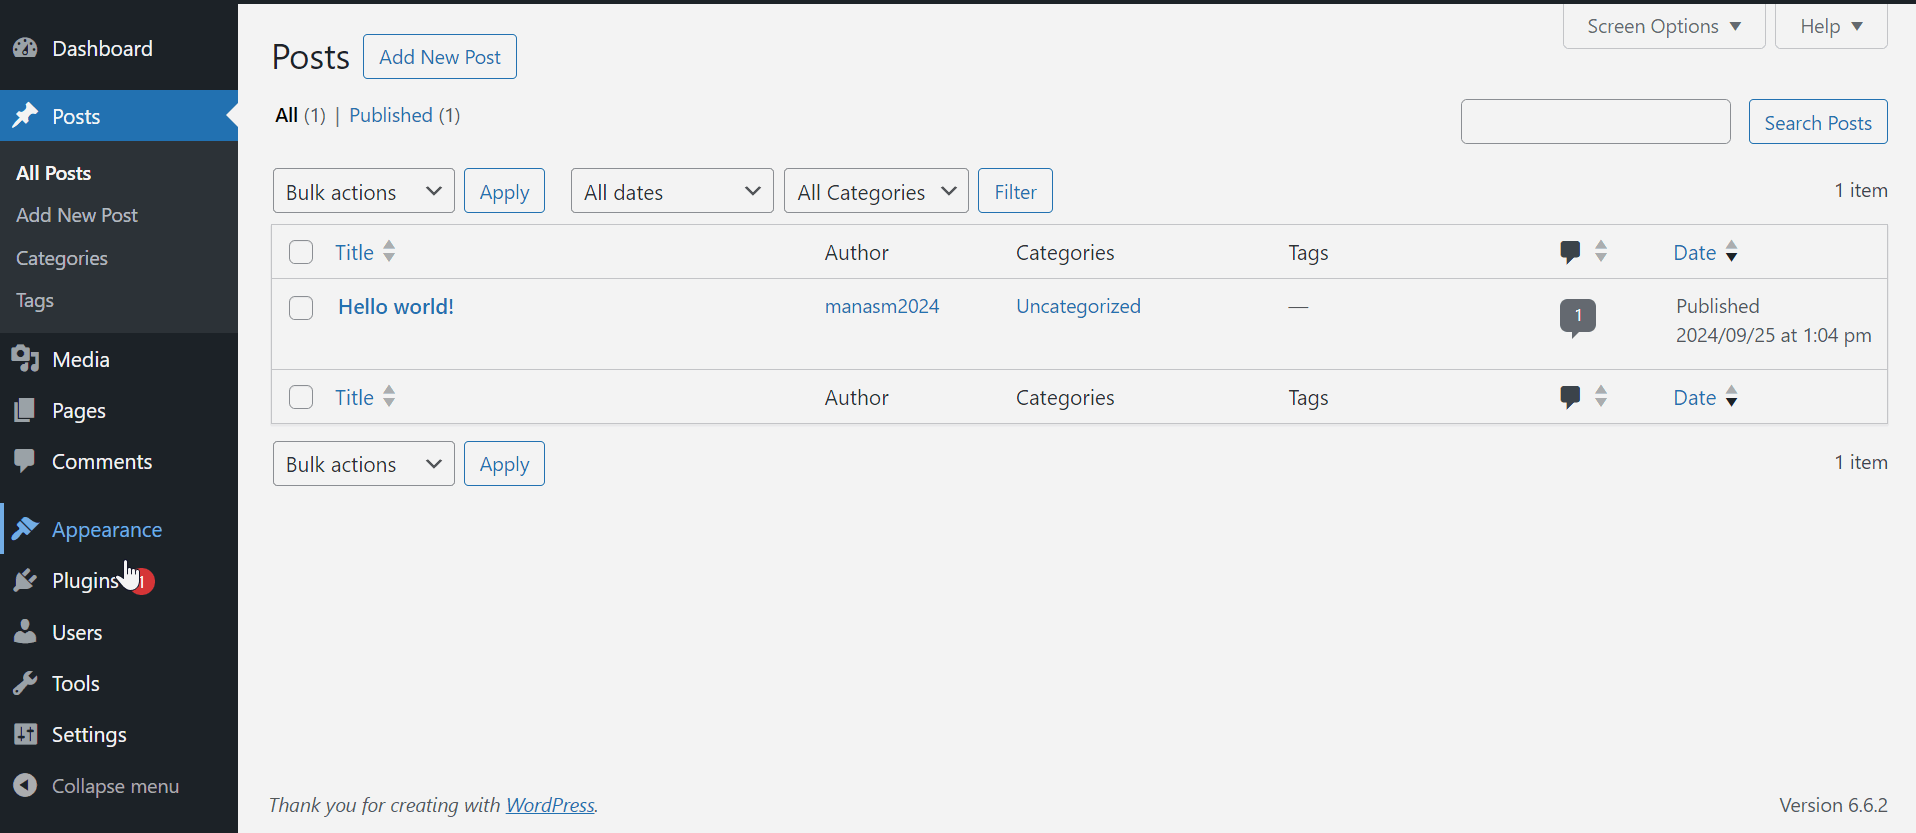
- Navigate to "Plugins" -->"Add New" in the WordPress CMS.
- Click on “Upload Plugin”.
- Select the plugin that you have already downloaded. ZIP format
- Click on “Install Now”. After the plugin is installed, you need to activate it.
- Click on"Activate" to activate the plugin. Once activated, it will appear in the left-hand menu of the WordPress CMS.
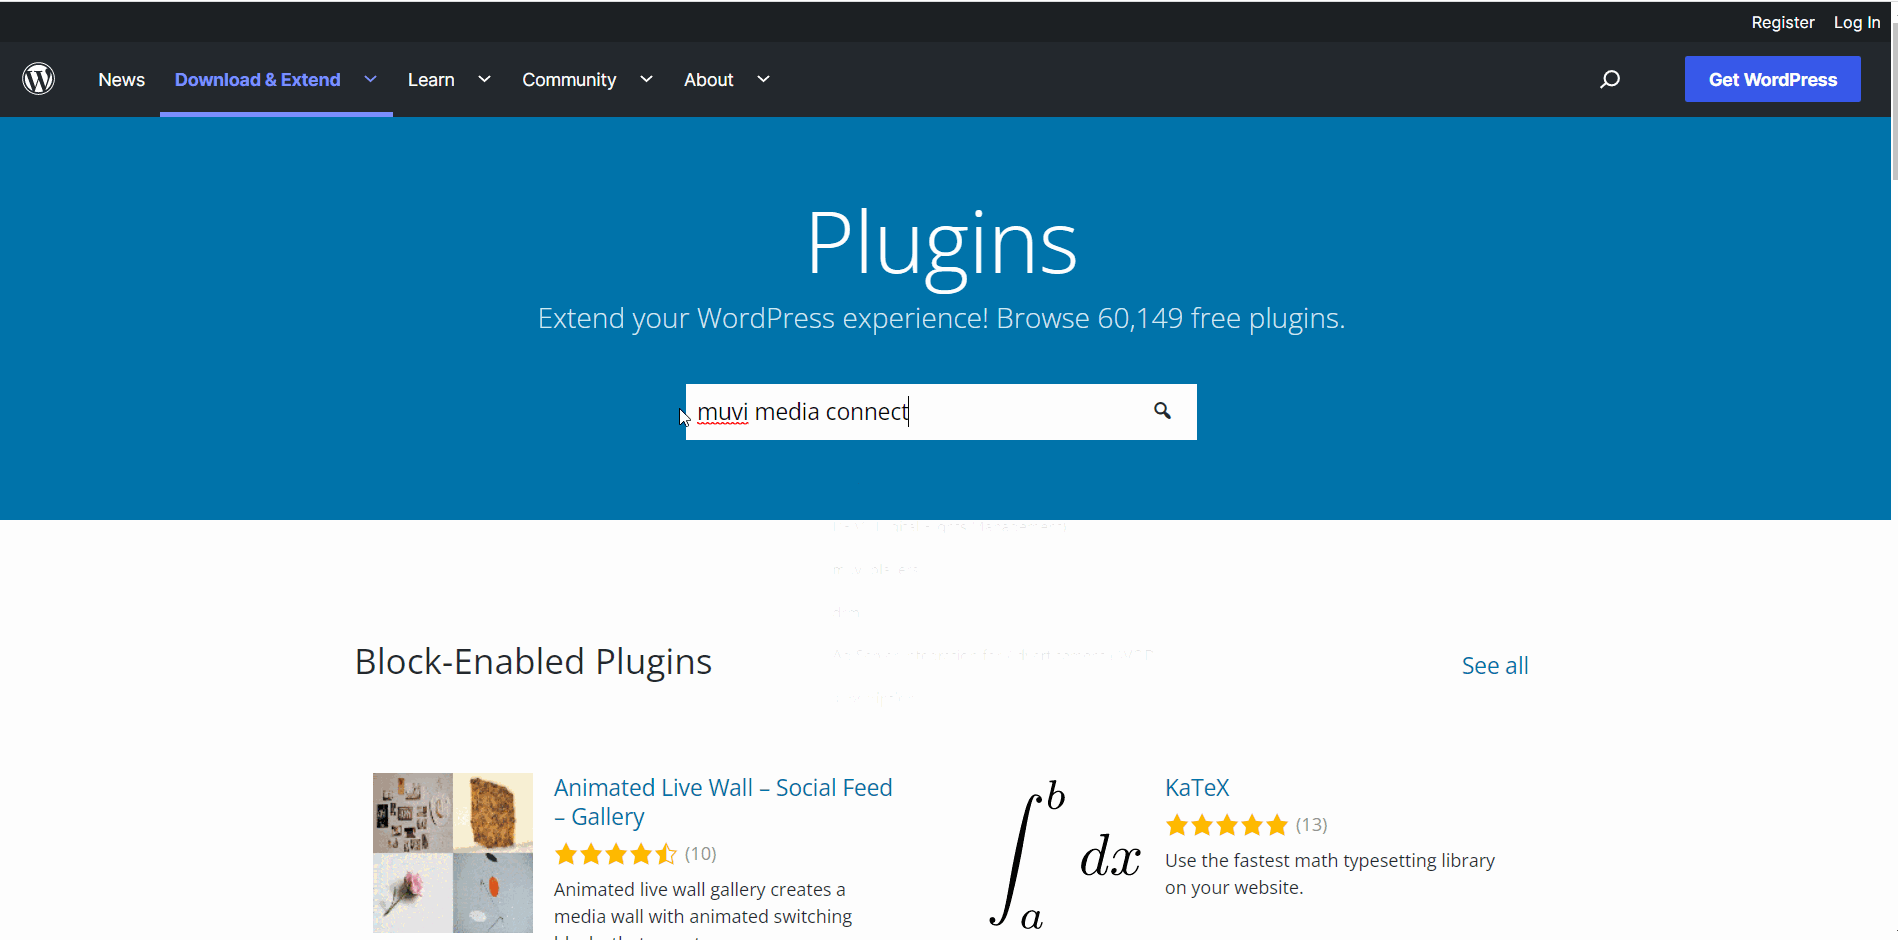
- Installing from WordPress Plugin Marketplace
- In the WordPress CMS, navigate to "Plugins" -->" Add New".
- Search for "Muvi Media Connect".
- Click on "Install Now".
- After the plugin is installed, you need to activate it.
- Click on"Activate" to activate the plugin.
How to Configure Muvi Media Connect with Muvi One Classic
Muvi Media Connect is the best video and audio plugin for WordPress. Once the plugin is installed, you need to configure it to add your video and audio content from Muvi One Classic to your blogs/website.
- To configure the plugin, click on the installed Muvi plugin (you can find it on the left-hand side of the menu).
- In "Please Select A Muvi Product", select "Muvi One Classic" from the drop-down menu.
- Type/paste the “Authorization Key”. (copy the authorization key from Muvi One Classic and paste it into this field)
- Mention the “Height of Content” (the default height of the content is 320).
- Mention the “Width of Content”(the default width of the content is 320).
- Type the “Number of Content” (number of contents to be displayed in the plugin browser to select. Default is 10). For example, if you type the number of content 20, then 20 content will be displayed on the plugin browser at a time and you can select any content from it to insert inside the blog/post.
- Click on “Update Setting”.
How to Configure Muvi Media Connect with Muvi One
Muvi Media Connect is the best video and audio plugin for WordPress. Once the plugin is installed, you need to configure it to add your video and audio content from Muvi One to your blogs/website.
- To configure the plugin, click on the installed Muvi plugin (you can find it on the left-hand side of the menu).
- In "Please Select A Muvi Product", select "Muvi One" from the drop-down menu.
- Type/paste the “Authorization Key”. (copy the authorization key from Muvi One and paste it into this field)
- Then type/paste the "Authorization Secret Key". (copy the authorization secret key from Muvi One and paste it into this field)
- Mention the “Height of Video Content” (the default height of the content is 320).
- Mention the “Width of Video Content”(the default width of the content is 320).
- Type the "Height of Audio Content" (the default width of the content is 320).
- Type the "Width of Audio Content" (the default width of the content is 320).
- Type the “Number of Content” (number of contents to be displayed in the plugin browser to select. Default is 10). For example, if you type the number of content 20, then 20 content will be displayed on the plugin browser at a time and you can select any content from it to insert inside the blog/post.
- Click on “Update Setting”.
How to Configure Muvi Media Connect with Muvi Flex
Muvi Media Connect is the best video and audio plugin for WordPress. Once the plugin is installed, you need to configure it to add your video and audio content from Muvi Flex to your blogs/website.
- To configure the plugin, click on the installed Muvi plugin (you can find it on the left-hand side of the menu).
- In "Please Select A Muvi Product", select "Muvi Flex" from the drop-down menu.
- Type/paste the “Authorization Key”. (copy the authorization key from Muvi Flex and paste it into this field)
- Then type/paste the "Authorization Secret Key". (copy the authorization secret key from Muvi Flex and paste it into this field)
- Mention the “Height of Video Content” (the default height of the content is 320).
- Mention the “Width of Video Content”(the default width of the content is 320).
- Type the "Height of Audio Content" (the default width of the content is 320).
- Type the "Width of Audio Content" (the default width of the content is 320).
- Type the “Number of Content” (number of contents to be displayed in the plugin browser to select. Default is 10). For example, if you type the number of content 20, then 20 content will be displayed on the plugin browser at a time and you can select any content from it to insert inside the blog/post.
- Click on “Update Setting”.
How to Configure Muvi Media Connect with Muvi Live
Muvi Media Connect is the best video and audio plugin for WordPress. Once the plugin is installed, you need to configure it to add video and audio content from Muvi Live to your blogs or websites.
- To configure the plugin, click on the installed Muvi plugin (you can find it on the left-hand side of the menu).
- In "Please Select A Muvi Product", select "Muvi Live" from the drop-down menu.
- Type/paste the “Authorization Key”. (copy the authorization key from Muvi Live and paste it into this field)
- Then type/paste the "Authorization Secret Key". (copy the authorization secret key from Muvi Live and paste it into this field)
- Mention the “Height of Video Content” (the default height of the content is 320).
- Mention the “Width of Video Content”(the default width of the content is 320).
- Type the “Number of Content” (the number of contents displayed in the plugin browser to select. Default is 10). For example, if you type the number of content 20, then 20 content will be displayed on the plugin browser at a time and you can select any content from it to insert inside the blog/post.
- Click on “Update Setting”.
Using the Muvi Media Connect Plugin
Video player publishing allows the user to easily insert video/audio from their Muvi One Classic, Muvi One, Muvi Flex, or Muvi Live onto their WordPress site.
Using Muvi Media Connect - Muvi One Classic
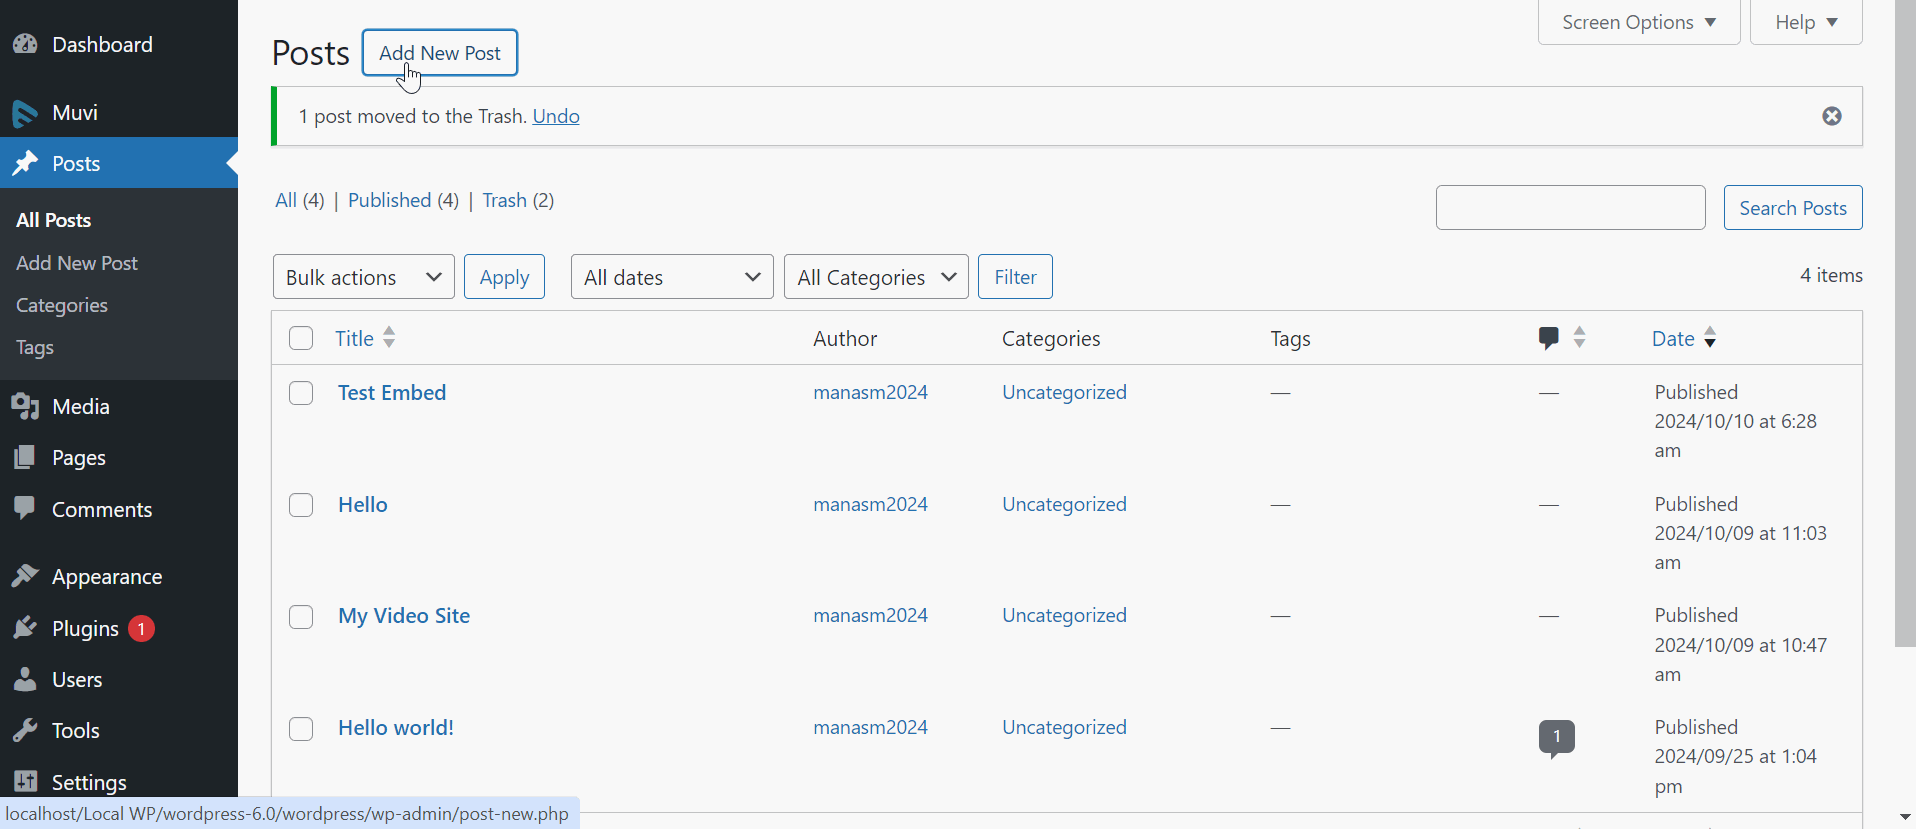
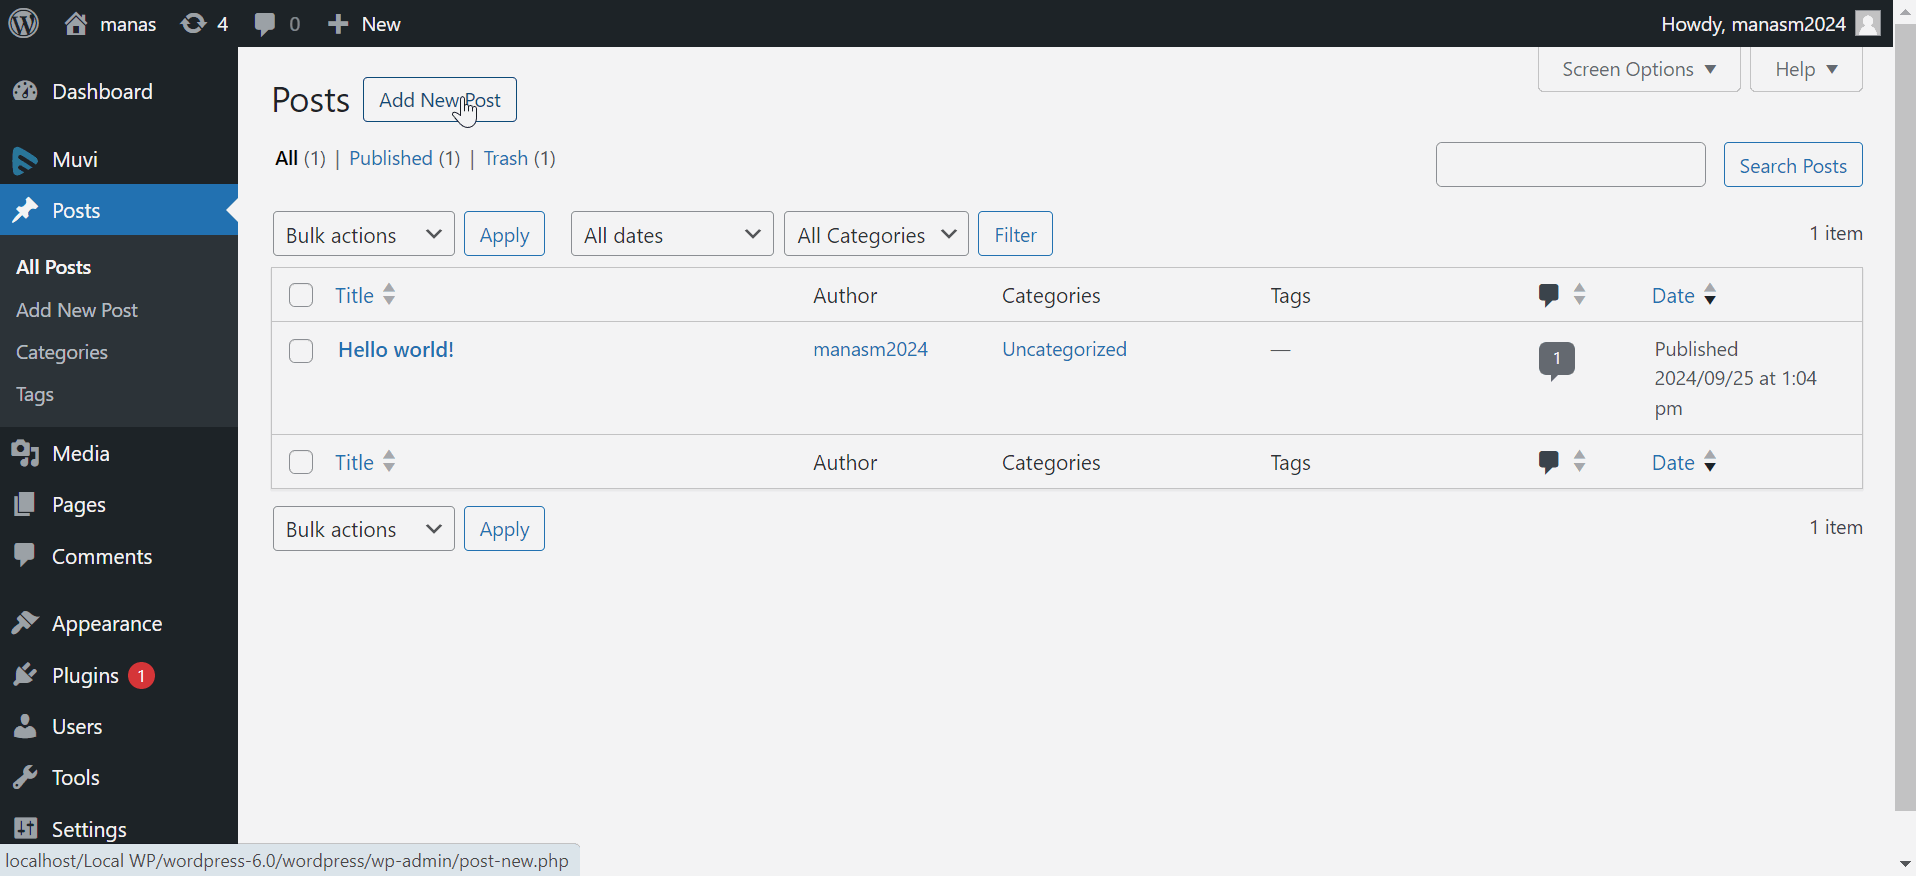
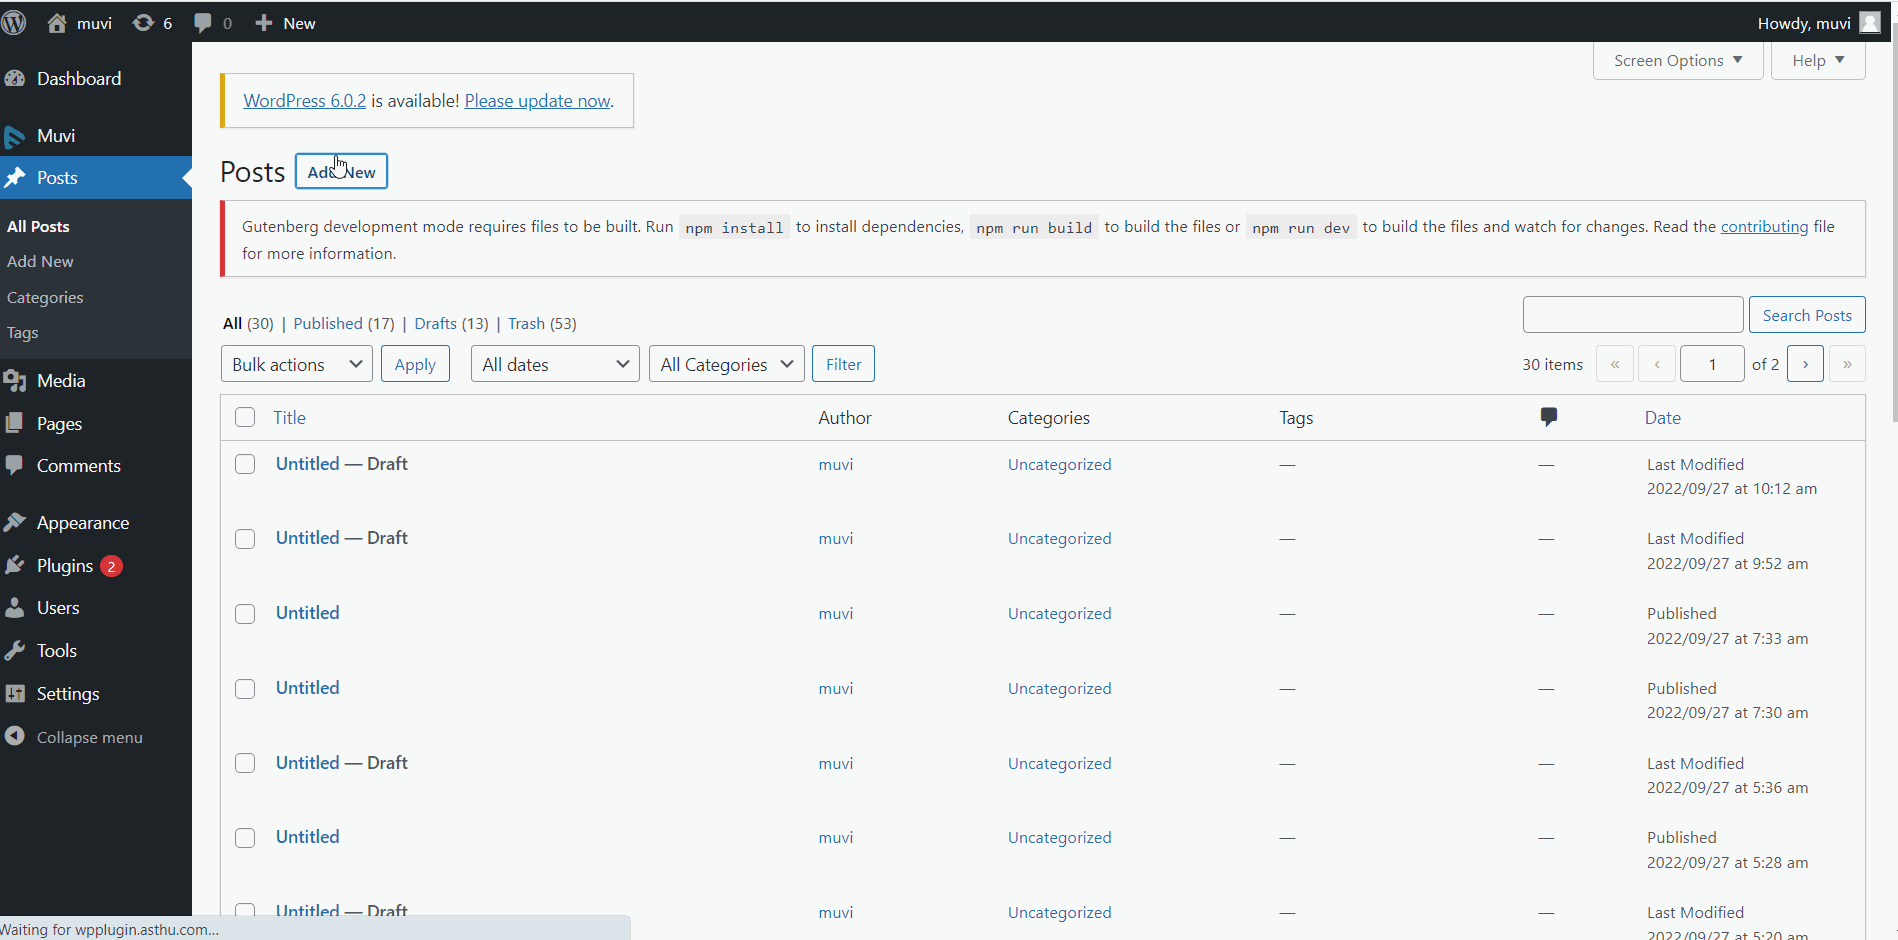
- To add video/audio content from Muvi One Classic to your WordPress website/blog, click on "Add New" under posts to create a new post.
- Type the title and content for the new post.
- To insert video/audio into the content, click on the "+" icon in the top left corner of the editor.
- Search for "Muvi Media Connect".
- Click on "Upload Media".
- You can view the video/audio content in the Muvi One Classic content library.
- Select the video/audio content to insert into the blog/content and click on "Insert". You can select multiple video/audio content at once to add them to your website/blog page.
- Click on "Publish" to publish the post.
- Click on "View Post" to view the post.
Using Muvi Media Connect - Muvi One
- To add video/audio content from Muvi One to your WordPress website/blog, click on "Add New" under posts to create a new post.
- Type the title and content for the new post.
- To insert video/audio into the content, click on the "+" icon in the top left corner of the editor.
- Search for "Muvi Media Connect".
- Click on "Upload Media".
- You can view the video/audio content in the Muvi One content library.
- Select the video/audio content to insert into the blog/content and click on "Insert". You can select multiple video/audio content at once to add them to your website/blog page.
- To preview the media, click on "Preview" in the top right corner of the editor and select "Preview in New Tab".
Using Muvi Media Connect - Muvi Flex
- To add video/audio content from Muvi Flex to your WordPress website/blog, click on "Add New" under posts to create a new post.
- Type the title and content for the new post.
- To insert video/audio into the content, click on the "+" icon on the top left corner of the editor.
- Search for "Muvi Media Connect".
- Click on "Upload Media".
- You can view the video/audio content in the Muvi Flex content library.
- Select the video/audio content to insert into the blog/content and click on "Insert".
- You can select multiple video/audio content at once to add them to your website/blog page.
- To preview the media, click on "Preview" on the top right corner of the editor and select "Preview in New Tab".

Using Muvi Media Connect - Muvi Live
- To add live streaming from Muvi Live to your WordPress website/blog, click on "Add New" under posts to create a new post.
- Type the title and content for the new post.
- To insert live streaming into the content, click on the "+" icon in the top left corner of the editor.
- Search for "Muvi Media Connect".
- Click on "Upload Media".
- You can view the content in the Muvi Live Live Stream Library.
- Select the live stream to insert into the blog/content and click on "Insert". You can select multiple live streams at once to add them to your website/blog page.
- Click on "Publish" to publish the post.
- Click on "View Post" to view the post.